Transcription of HOW TO RESIZE IMAGES FOR UPLOADING TO THE …
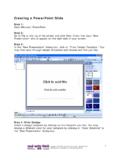
1 7/22/2016 IMAGE resizing FOR ://spus05/dept/Training Gary/IMAGE%20 resizing %20 FOR% HOW TO RESIZE IMAGES FOR UPLOADING TO THE LEASEPLAN RISK MANAGEMENTWEBESTIMATE SITE 1. Determine the size of your image. IMAGES that are a 1024 X 768 resolu on or less areallowed for upload to the WebEs mate site. To determine the size of your image, openthe loca on of the image and simply select it by single clicking on it. The image sizeand dimensions are displayed at the bo om of Explorer. 7/22/2016 IMAGE resizing FOR ://spus05/dept/Training Gary/IMAGE%20 resizing %20 FOR% 2. If your image exceeds 1024 X 768 resolu on, you will need to decrease the size beforeWebEs mate will allow it to be uploaded. Most Window s systems come with MicroSo Office Picture Manager and have it set as the default program to editpictures. Microso Office Picture Manager can edit the most common types ofimage files, such as PNG, JPG JPEG, BMP and GIF. If you do not have Microso Office Picture Manager, most any picture edi ng so warewill func on similarly to the instruc ons in this the image is open in the picture editor, select either Picture or Edit , in someeditors and select RESIZE 3.
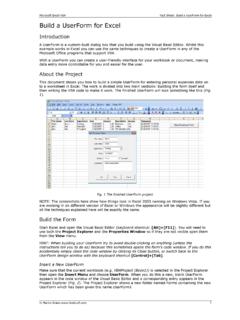
2 Once the resizing Control Panel is opened, select the radio bu on for Pixels . Theimage size will be displayed at the bo om of the the image size exceeds 1024 X 768, use the Down control on the size % featureun l the size is 1024 X 768 or the OK bu on and then make sure to hit the SAVE bu on. This will overwriteyour original image in the original loca on and your image is now resized and able tobe uploaded to WebEs mate. 7/22/2016 IMAGE resizing FOR ://spus05/dept/Training Gary/IMAGE%20 resizing %20 FOR%