Instructions For Installing A Trunk
Found 8 free book(s)
Wire Harness Installation Instructions - Painless Performance
www.painlessperformance.comInstructions For Installing: #20101 Classic Plus Customizable ’67-’68 Camaro/Firebird Harness - 24 Circuit ... and switches to their proper sources. Trunk accessory, door locks, power windows, and electric fuel pump are included in the 18-circuit kit. …

Installation Manual - Compustar
geeksquad.compustar.comIf you are new to installing Firstech remote start units, we highly recommended that you review this ... remotes, follow the instructions below. Programming the Remote ... 1. Turn the vehicle’s key to the ignition “on” position and tap the Lock and Trunk buttons simultaneously for a half second. The parking lights will flash once to ...
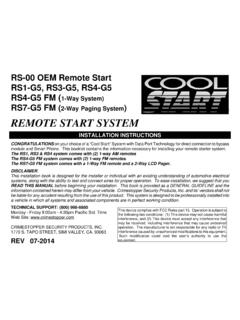
1-Way System) 2-Way Paging System REMOTE START SYSTEM
www.crimestopper.com2. Trunk Pop with ½ second press – Default 3. Double press Trunk Pop. 4. Press and Hold 2 seconds for Trunk Pop. Note: Some vehicles like Lexus and Toyota require a 2 to 3 second output for the Trunk Pop to operate. Option 9-4 (Push and Hold), Allows output to stay on until Transmitter button is released. BROWN 85 86 30 87 Trunk Soleniod ...
Instructions for Use - Exergen Corporation
w.exergen.comfollow the instructions below and read the user manual carefully. Installing the Battery . 1. Locate the battery compartment at the back of the thermometer. 2. Face the top of the thermometer toward you and place your thumb on the ridges. 3. Press down firmly and slide the cover away from you, toward the bottom of the thermometer. 4.
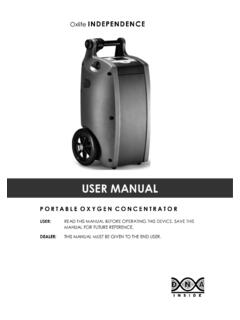
USER MANUAL - O2 Concepts
o2-concepts.comInstructions for deactivating the cell are listed on page 39 and 40 within the Section: Entering and Exiting Airplane Mode. Device is FAA approved for use aboard passenger aircraft (FAA Advisory Circular 91.21-1B), including radio frequency emission limits of (RTCA) Document (DO) 160. section 21. Category M. Device contains FCC Id R5Q-LISAC200A.
DESIGN & INSTALLATION GUIDE - Gastite
www.gastite.compiping systems, in addition to compliance with local codes. The installation instructions and procedures contained in this Design & Installation Guide must be strictly followed in order to provide a safe and effective flexible fuel gas piping system or system modification.
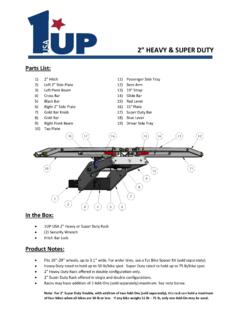
2” HEAVY & SUPER DUTY
www.1up-usa.comAug 02, 2021 · • Rack is set to hold 26’’, 27.5’’, 29’’, or 700-C wheels. If bike tires are smaller, see instructions below to adjust Spools accordingly. o With a ½’’ wrench, remove hex nut and washer. o Slide bolt out of Spools and re-assemble Spools in desired wheel position, firmly tightening hex nut. Locking Rack to Vehicle

Dodge 1500 Pickup, 2 & 4WD
www.truckspring.com8. Select a location for the inflation valve in the gas cap well, the trunk, rear bumper, fender flange or behind the license plate, insuring that the valve will be protected and accessible with an air hose (fig. 6). fig. 6 13. Raise the axle or lower the vehicle body until the air springs lightly touch the upper spring seat and lower spacers.