Transcription of Configuring your Windows 10 computer for dbRASweb …
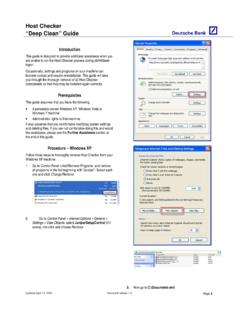
1 Configuring your Windows 10 computer for dbRASweb This page provides instructions on how to configure your Windows machine to connect to dbRASweb . section 1: Installing Citrix Workspace 1. Browse to Citrix Workspace 2. Click Download Citrix Workspace app for Windows as shown below. 3. You will receive a pop up from , click Run to continue. 4. Click Start to setup and install Citrix Workspace app on you machine. 5. Check the box next to I accept the license and click Install to continue. 6. Once the installation process completes, click finish to close the installer. 7. Restart your machine. section 2: Verify Virus and threat protection is enabled Note: We recommend you check this list before you purchase an Anti-virus / Anti-malware suite.
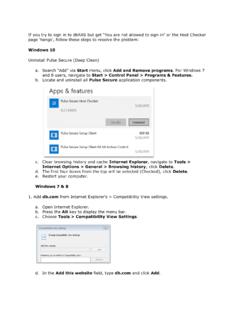
2 The specific application and version must be listed for it to be supported. If you do not wish to purchase a third-party Anti-virus / Anti-malware. The Windows Security Defender Anti-virus that comes with your computer is fully supported. This will provide adequate coverage ( Windows 8 and 10 only). Windows Defender for Window 7 only provide Spyware protection and would require 3rd party Anti-virus. Windows 10 1. Click below to see the list of supported Anti-virus / Anti-malware applications: Supported Anti-virus / Anti-malware list To search the document, press Ctrl-F / -F. 2. Search Windows Security via Start menu. 3. Click on the Windows Security app.
3 4. Verify Virus & Threat protection is enabled. 5. If your antivirus software is outdated, it will be listed under Virus protection marked as red. Click Update Now to resolve the problem. Windows 7 & 8 1. Click below to see the list of supported Anti-virus / Anti-malware applications: Supported Anti-virus / Anti-malware list To search the document, press Ctrl-F / -F. 2. Ensure the Anti-virus / Anti-malware software installed on your PC is up-to-date. Open Action Center by clicking Start > Control Panel > System Security > Review your computer 's status. 3. If your antivirus software is outdated, it will be listed under Virus protection marked as red.
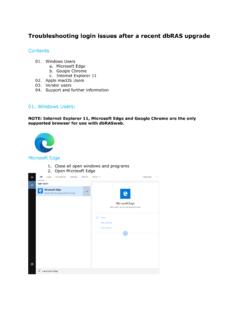
4 Click Update Now to resolve the problem. **For more instructions on Configuring your Anti-virus, please see the Troubleshooting I & II at the end of this document** section 3: Configuring Internet Explorer Note: Microsoft "Edge" browser on all Windows versions, is currently not supported. Use only Internet Explorer 11 to access dbRASweb . 1. Navigate to Tools > Internet Options; click Privacy. 2. Uncheck the box next Turn on Popup-Blockers and click Apply. section 4: Logging in to dbRASweb for Windows Once the configuration steps are complete, you can go ahead and log in to dbRASweb . 1. In the Internet Explorer web browser, click a link below to launch the dbRAS landing page: Internals Externals / Vendors 2.
5 Choose your nearest location and how you wish to authenticate, then click Login. 3. Enter your login credentials and click Sign In. 4. From the Host Checker page, at the bottom of your browser you will see a pop-up stating the following message: This webpage wants to run the following add-on: PulseSetupClientATL ActiveX Control Module from Pulse Secure LLC . Click Allow to install the add-on. 5. A website wants to open web content using this program on your machine, click Allow to continue. 6. To download/install/execute Host Checker software from the following server, click Always. 7. From the dbGroupUA page, at the bottom of your browser you will see a pop-up stating the following message:This web page wants to run the following add-on: Citrix ICA Client Object(ActiveX Win32) from Citrix Systems Inc.
6 Click Allow to run the add-on. 8. You will see another pop-up that states the following: A website wants to open web content using this program on your computer . Click Allow. 9. Enter your username and password, click Log On. 10. You will see the following Citrix pop-up after doubleclicking your DOD/SDOD icon, click Allow. 11. After the ICA Client launches, you will see the following Desktop Viewer window appear. **If you are unable to connect to your virtual desktop after following the above step. Please find the below troubleshooting steps** USNYCVD000000 Desktop Viewer USNYCVD000000 Viewer Troubleshooting I: Unable to pass Host Checker If you receive the message stating your Anti-virus definitions are out of date.
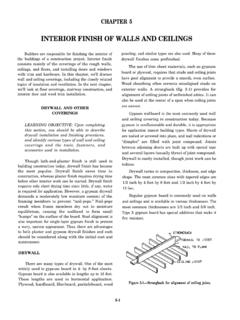
7 Please try the following steps to resolve this issue. 1. Please run a quick scan via Settings > Update and Security > Windows Security. 2. Verify Virus and threat protection is enable (green) as shown below. 3. Click Open Windows Security. 4. Click Virus and threat protection. 5. Click Quick Scan. 6. Once the quick scan has begun, go to dbRASweb to login. Troubleshooting II: Enable Real-time protection 1. From the Virus and threat protection page above, scroll down until you see the settings section and click Manage Settings. 2. Click the button under Real-time protection , if showing in the Off position.