Transcription of gravedigger - omarshauntedtrail.com
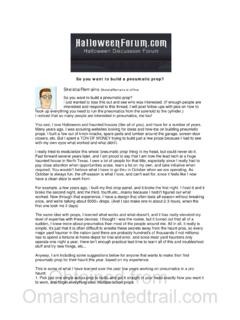
1 Obtained I actually got this idea from another prop. It was a ghostly moving shovel. So, I thought why not people behind it with movable arms. Since my first latex mask didn't turn out for my witch, I'm using it for this prop. He's made of a simple PVC frame. Here you can see I have all the parts marked and cut. I used 1 1/4" PVC. All pieces are cut to what ever length you need for the size wanted. The frame is put together, you can't see them, but I did add two 90 degree elbows and 7" pieces for feet. I glued most of the joints, but the spine I left loose so I can take him apart to store Obtained Here I've connected the boots to the plywood, with a 3" screw through the toe, and used shelf brackets on the back and screwed the boot to the PVC.
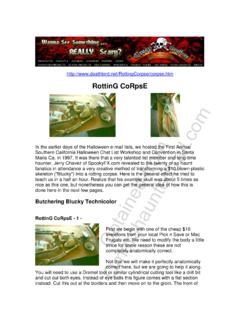
2 I was going to cut the brackets flush with the plywood, but decided I could use them for more stability. You will notice there is a 1 X 4 under the toes of the boots, I had to add it because of the heel of the boot. He leaned forward too far. Remember the mask project I was working well this is the finished project. I added acrylic eyes to finish him off.
3 Now that the mask is ready, and my frame is made, I need to buy him a suit. I decided to go with a Victorian theme. Unfortunately when I get something in my mind, it becomes a mission. I went to my local Salvation Army store and found the boots, but ended up a Goodwill for the rest of his outfit. Obtained should have had a few pictures of his stuffing and arms, but I got so excited about his clothing and dressing him up, I forgot to take I used a thin dense camping mat to pad him. It was folded over his head with a hole cut for the neck and then wired together between the legs.
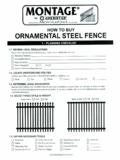
4 The arms I needed to move freely, so I rolled some of the foam in two sections per side, then strung picture wire from one side to the other. Everything is fastened to a nice sized chunk of plywood. I ordered two Mirror Ball motors off from Ebay, quite cheap! They are 5 RPM and will hold up to 25 lbs. This one is turned sideways and screwed to a piece of 1 X 4, then used metal brackets to fasten that to the plywood. My brother-in-law does a lot of welding so I had him weld the hinge at the bottom and the L bracket at the top, It isn't the prettiest, but it works I definitely am not an engineer, it took three tries to figure out the lengths of metal I needed for this to work the way I wanted.
5 The first time I turned it on, the shovel was knocking the digger in the noggin! Then it went out too far in the front. I ended up with the long piece between the motor and shovel being " long, putting the top end in the hole closest to the shovel and the bottom one in the hole closest to the motor. The finished Grave Digger Obtained do have a few last minute finishing touches to add to this guy, but they will wait until I set him up out front, I will be sure to get some video to post . This project only took a few days to complete. What took the longest was finding just the right clothing, this outfit cost me about $20, so I would say the whole project was maybe $30, minus the mask making.
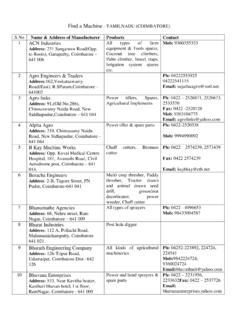
6 You can buy one in the store for a few $. Here is a diagram of how the motor is attached to the shovel Since I had to add a bit more padding to this guy (ie: a pillow), I took a picture of his foam padding and arm role. You can also see the picture wire I used to connect the arms so they are movable.
7 I believe that was about a 7' length.