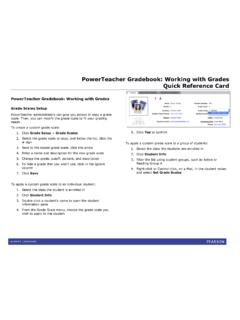
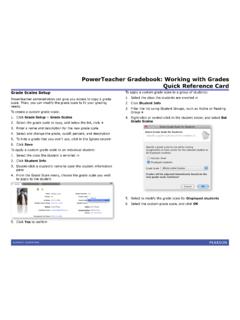
Transcription of PowerTeacher Gradebook: Getting Started Quick Reference …
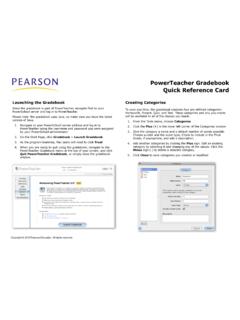
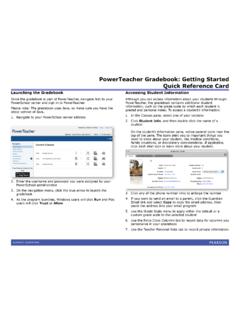
1 PowerTeacher gradebook : Getting Started Quick Reference Card PowerTeacher gradebook : Getting Started Launching the gradebook Since the gradebook is part of PowerTeacher , navigate first to your PowerSchool server and sign in to PowerTeacher . Note: The gradebook uses Java, so make sure you have the latest version of Java installed on your machine. 1. Navigate to your PowerSchool server address 2. Enter the username and password you were assigned by your PowerSchool administrator 3. On the navigation menu, click the gray arrow next to gradebook to launch the gradebook 4. As the program launches, Windows users will click Run and Mac users will click Trust or Allow Accessing Student Information Although you can access information about your students through PowerTeacher , the gradebook contains additional student information, such as the grade scale by which each student is graded and any personal notes from the teacher.
2 To access a student s information: 1. In the Classes pane, select one of your sections 2. Click Student Info, and then double-click the name of a student On the student s information pane, notice several icons near the top of the pane. The icons alert you to important things you need to know about your student, like medical conditions, family situations, or disciplinary considerations. If applicable, click each alert icon to learn more about your student. 3. Click any of the phone number links to enlarge the number 4. If you want to send an email to a parent, click the Guardian Email link, select Email, and complete the email message Alternatively, you can click the Guardian Email link, select Copy to copy the email address, and then paste the address into your email program. PowerTeacher gradebook : Getting Started Copyright 2012 Pearson 2 5. Use the Grade Scale menu to apply either the default or a custom grade scale to the selected student 6.
3 Use the Extra Class Columns tab to record data for columns you personalize in your gradebook The columns listed reflect the custom columns you create, except for one field: Preferred Name. Use the Preferred Name field to record the name the student prefers to be called. For example, a student named Elizabeth may prefer to be called Liz. Learn more about the custom columns in the next section. 7. Use the Teacher Personal Note tab to record private information that only you have access to Personalizing Class Columns Personalize student information using the extra class columns. Edit or create columns to record book numbers, locker numbers, lab partners, or emergency contacts for each of your students. There is no limit to the number of extra class columns you can create. 1. In the upper part of the pane, click Extra Class Columns 2. Select an existing column and click Edit Click Add to add any new columns.
4 3. Enter a column name and description 4. Click OK > Close 5. On the Student Info tab, scroll to the right to find the column 6. Enter information for several students 7. Click and drag the column headings to rearrange the columns Also, use the column headings to change the sort order of the students. 8. Click Save Changing Student Display Settings If you ve entered preferred names for some of your students, you can display those names on the Scoresheet. Use Preferences to format how students appear on your scoresheet. 1. Open the Tools menu (Windows) or the PowerTeacher gradebook menu (Mac), and select Preferences 2. Click Student 3. From the Student Name Display menu, choose how the student s complete name will appear 4. Check Use Preferred Name* when available If the student doesn t have a preferred name, his or her full name will appear. 5. Check Use Preferred Name* on reports to print the preferred name instead 6.
5 Use the Sort Students By menu to change the default sort order of your students PowerTeacher gradebook : Getting Started Copyright 2012 Pearson 3 7. When you are finished, click OK Adding Class Content The Class Content pane contains three modes: Class Info, School Content, and My Content. You can view and edit basic class information for the selected class in Class Info mode. The content modes contain links to websites and resources on the web. Your PowerTeacher administrator provides resources in School Content. Add online resources you d like to use in My Content mode. To add a link to your content: 1. Click Class Content > My Content 2. Below the list, click the + sign 3. Enter the name and address of the website 4. Choose a content type and group Web Site is the default content type. (If you re linking to a document that resides on your district server, select PDF or Word Doc to match.)
6 5. Enter a description of the resource 6. Click Save, and the link will appear on the My Content page To add a link to your class description: 1. In the Classes pane, select one of your sections 2. Click Class Content > Class Info 3. Enter a description 4. Click + link 5. Select the link you wish to add, then click OK 6. Make changes to the description, if needed, and click Save The class description and any links you have added are visible in the PowerSchool Student and Parent Portals. Students and parents can click the links to access the website or other online resources. To change the name of one of your sections as it appears in the Classes pane: 1. Select one of your sections 2. Click Class Content > Class Info 3. For Custom Display Name, enter a new name 4. Click Save To display the new class section name in your list of sections: 1. From the Tools menu (Windows) or the PowerTeacher gradebook menu (Mac), select Preferences 2.
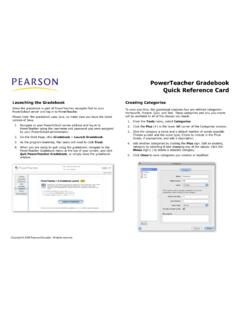
7 Click Section 3. Select Custom Name Display > OK PowerTeacher gradebook : Getting Started Copyright 2012 Pearson 4 Creating Categories To save you time, the gradebook contains four pre-defined categories: Homework, Project, Quiz, and Test. You can access these categories, and any you create, in each class you teach. To create a new category: 1. From the Tools menu, select Categories 2. In the lower left corner, click + 3. Give the category a name, abbreviation, and a default number of points possible 4. Choose a color, score type, and publish assignment option 5. Check Include in Final Grade, if appropriate, and add a description To add another category, click +. To edit an existing category, select it and change any of the values. Click - to delete the selected category. 6. Click Close to save the categories you created or modified Entering Assignments You can add assignments to the gradebook anytime during the school year, as well as copy assignments from a previous school year or term.
8 To create an assignment in the gradebook : 1. Click Assignments, and below the Assignment list, click + 2. Enter a name, abbreviation, number of points possible, and due date 3. Choose a category and score type 4. Check Include in Final Grade, unless the assignment is a draft or non-graded activity 5. Add a description so students and parents can view what is required for this assignment 6. Click the Publish tab 7. Choose to publish the assignment immediately, on a specific date, or a number of days before it is due 8. Check Publish Scores to show scores in the PowerSchool Student and Parent Portals 9. Click the Standards tab 10. If standards are associated to this class, check the standards aligned to this assignment 11. Click Save The assignment will appear in the assignment list as well as the Scoresheet. PowerTeacher gradebook : Getting Started Copyright 2012 Pearson 5 Copying Assignments You can copy assignments from one class to another, or from current or previous terms.
9 Use the Current Classes menu in the Classes pane to select previous classes. Select to copy one assignment, several assignments, or all assignments. 1. Select the class that contains the assignment(s) you want to copy 2. From the Tools menu, select Copy Assignments 3. Check the assignments you want to copy, and click Next 4. The Copy Assignments window defaults to the current term, but you can also choose previous or future school years 5. Check the class or classes to copy the assignments to 6. Choose to keep the existing due date, assign today s date, or enter a custom date 7. Click OK PowerTeacher gradebook : Getting Started Copyright 2012 Pearson 6 Entering Scores When entering scores, make sure to use the type of score that you set up when you created the assignment: numbers for points and percentages or letters for letter grades. Enter scores manually or use the Quick -entry method.
10 1. Click Scoresheet, and click the cell that is the intersection of the row containing the student s name and the column of the assignment 2. Enter the score, such as 25 or A 3. Press Enter to advance to the next student or Tab to advance to the next assignment 4. When you are finished entering scores, click Save Locking the gradebook When you re ready to end your PowerTeacher gradebook session, sign out and close the gradebook . If you re in the middle of a task and don t want to end your session, lock the gradebook . To keep your information secure, lock your gradebook two different ways: 1. Use the keyboard shortcut CTRL-L (Windows) or Command-L (Mac), or navigate to the File menu, and select Lock gradebook The lock screen appears, covering the entire gradebook and keeping student information private 2. If you want to unlock the gradebook , enter the same password you use to sign in to PowerTeacher , and click Unlock 3.
