
Installation Instructions - Watts
ing and thoroughly clean all parts including the diaphragm. Inspect all rubber parts for damage and if damaged, replace them with new parts. 7. Reassemble the relief valve in the reverse order that it was disassembled. Figure 1 Figure 2 Material–Tool Requirements: • #3 Phillips 5screwdriver or /16" diameter rod, length sufficient
Download Installation Instructions - Watts

Information
Domain:
Source:
Link to this page:
Documents from same domain
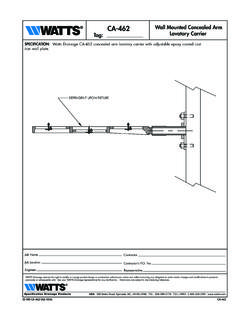
CA-462 Wall Mounted Concealed Arm - Watts Water
media.wattswater.comES-WD-CA-462 USA 0536 CA-462 Tag: CA-462 Wall Mounted Concealed Arm Lavatory Carrier SPECIFICATION: Watts Drainage CA-462 concealed arm lavatory carrier with adjustable epoxy coated cast
TABLE OF CONTENTS - Watts Water
media.wattswater.comFIXTURE CARRIERS CA-461 Wall Mounted Concealed Arm Lavatory w/Back Plate CA-462 Wall Mounted Concealed Arm Lavator CA-481 Wall …

Price List - Watts Water
media.wattswater.comFor the latest Watts pricing information in electronic format, visit our Data Exchange at: • Download product and list price data in .csv, .pdf, .tsv, .xls

Price List - Watts Water Technologies
media.wattswater.com2018 WATTS PRICE LIST Effective July 2, 2018 Price List Water Safety, Flow Control & Backfl ow Prevention Products Watts.com All prices supersede previous issues,
Chemical Resistance of Polypropylene and …
media.wattswater.comBismuth Carbonate 180 Black Liquor 150 Bleach—see Sodium Hypochlorite 12.5 150 Borax, Sodium Borate 180 Boric Acid 180 Brine 180 Bromic Acid NR Bromine Dry NR
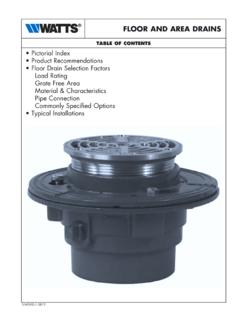
FLOOR AND AREA DRAINS - Watts Water …
media.wattswater.comFLOOR AND AREA DRAINS TABLE OF CONTENTS • Pictorial Index • Product Recommendations • Floor Drain Selection Factors Load Rating Grate Free Area
A!' /0# '-'+% D#/'%+ D 0 Installing Drainage …
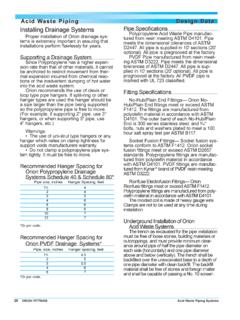
media.wattswater.comInstalling Drainage Systems Proper installation of Orion drainage sys-tems is extremely important in assuring that installations perform flawlessly for years.
Typical Branch Line - Watts Water
media.wattswater.comSizing and Placement As shown above, it has been established that the preferred location for the water hammer arrestor is at the end of the branch line between
AD F - Welcome Watts Water Technologies
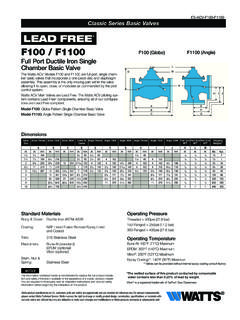
media.wattswater.comES-ACV-F100-F1100 1705 F100 Full Port Ductile Iron Single Chamber Basic Valve SA 0 F 0 Canada 0 00 F 0 0 Watts.ca Latin America 1100100 F 100001 W atts.com 01 AD F * * Contained in Main Valve Repair Kit
Pressure Drop Basics & Valve Sizing - Watts Water
media.wattswater.comWhat Pressure Drop is Not? Pressure drop is pressure loss across the valve created by system demand -NOT by the valve alone.
Related documents

Hydraulics Trouble Shooting Guide
afsga.com4. shaft seals or seals on suction side are defective 5. pump defective 6. pressure and return lines connected wrongly 7. control system oscillating 8. As 1 A 8 1. line mountings missing or loose 2. lines have been wrongly laid 3. ID too small 4. As 4 C As 4 A 5. return terminates above fluid level 6. …
Hydraulics Trouble Shooting Guide - Advanced Fluid Systems
www.advancedfluidsystems.com4. shaft seals or seals on suction side are defective 5. pump defective 6. pressure and return lines connected wrongly 7. control system oscillating 8. As 1 A 8 1. line mountings missing or loose 2. lines have been wrongly laid 3. ID too small 4. As 4 C As 4 A 5. return terminates above fluid level 6. return filter blocked 1. valve chatter due
PMC51, PMP51, PMP55 - Endress+Hauser
portal.endress.com3.3 Installation instructions for devices with diaphragm seals – PMP55! Note! • Cerabar M devices with diaphragm seals are screwed in, flanged or clamped, depending on the type of diaphragm seal. • A diaphragm seal and the pressure transmitter together form a closed, oil-filled calibrated system.
Chapter 5 Concrete Structures Contents
wsdot.wa.govUsed underwater in seals. 7. Class 5000 or Higher. Used in CIP post-tensioned concrete box girder construction, deep bridge foundations, or in other special structural applications if significant economy can be gained or structural requirements dictate. Class 5000 or higher concrete is generally available near large urban centers.
Multi-Stage Centrifugal Compressors - elliott-turbo.com
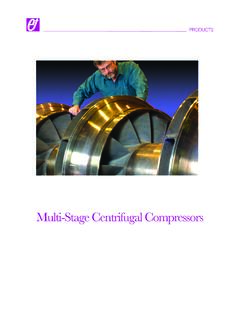
www.elliott-turbo.comfrom damaged seals. Elliott offers shaft seals to meet our customers’ needs in all applications. Dry gas seals are standard and are available as single, tandem, double, or triple designs. The tandem or triple gas seal designs include an intermediate labyrinth, which can be buffered for additional emissions protection.

Model 4500 Series - GEOKON
www.geokon.comIn salt water, it may be necessary to use special materials for the diaphragm and housing. The 4500INCO and 4500TI series pi ezometers are specifically designed to be used in this type of environment. For example, both models incorporate enhanced seals at the cable entry and filter connection; the 4500INCO uses a

(PROJECT STANDARDS AND SPECIFICATIONS)
www.klmtechgroup.comwasher found damaged and lock nut loose, shaft axial play shall be checked). iv. Inspection of bearings (replace the bearings if necessary). v. Pump float (adjust if necessary) vi. Oil filter for cleanliness if journal bearings are hydrodynamic vii. Inspect condition of mechanical seals viii. Alignment (Misalignment shall not be more than 0.05 ...

Tecumseh Quick Reference - Small Engine Suppliers
www.smallenginesuppliers.comCrankcase seals or gaskets leaking Ignition System Damaged reed, port plugs, seals or gaskets Poor compression Restriction in fuel system (filter, screen) FUEL SYSTEM Engine Will Not Start Check if spark plug is wet or dry Review with customer priming or choking procedure (3-5 primes, if equipped, waiting 2 seconds between each prime ...
Homepage - Walbro We enable machines that make life better
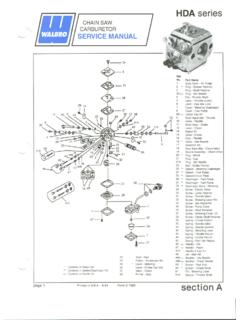
www.walbro.comReplace pump diaphragm. Remove screen and clean or replace. Remove obstruction or replace line if necessary. Also, check in-line fuel filter. Remove cap and replace vent. Reset idle needle to specified setting. page 7 5. Pump diaphragm check valves worn 6. Dirty or plugged inlet screen 7. Obstructed or damaged fuel or pulse line 8. Fuel tank ...