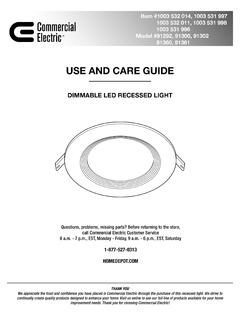
USE AND CARE GUIDE
To clean the fixture, first disconnect the power to the fixture by turning off the circuit breaker of by removing the fuse at the fuse box. Use a dry or slightly dampened, clean cloth (use clean water, never use a solvent) to wipe the surface of the fixture. Allow the fixture to dry completely before power is restored.
Download USE AND CARE GUIDE

Information
Domain:
Source:
Link to this page:
Documents from same domain

Bottom Mount Refrigerator
images.thdstatic.comDimensions are for planning purposes only. For complete details, see Installation Instructions packed with product. Specifications subject to change without notice. Ref. W10635370B 2/15 2¹⁄₂" (6.3 cm) ¹⁄₂" (1.25 cm) To ensure proper ventilation for your refrigerator, allow for a ¹⁄₂" (1.25 cm) space on each side and at the top.
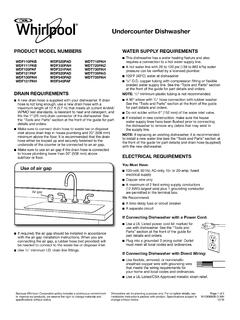
Undercounter Dishwasher
images.thdstatic.comsupply line. NOTE: If replacing an existing dishwasher, it is recommended to install a new water line (see the “Tools and Parts” section at the front of the guide for part details) and drain hose (supplied) with the new dishwasher. ELECTRICAL REQUIREMENTS You Must Have: 120-volt, 60 Hz, AC-only, 15- or 20-amp, fused electrical supply

LAUNDRY ACCESSORY GUIDE
images.thdstatic.comLAUNDRY ACCESSORY GUIDE. This quick reference guide to laundry accessories will help to make sure you have what . you need for a successful installation in just 3 easy steps. ... If your home was built before 1996 and has only a 3-wire connection, purchase a 3-prong dryer power cord. LG recommends a 4-wire connection and a 4-prong dryer power cord.

Unfinished Cabinetry orders deliver to the store within 3 ...
images.thdstatic.comTake in-stock cabinets home today or order through Express Options®. Express Options orders deliver to the store within 3 weeks; see an Associate or the Special Services Desk to place your order.* Most products are available when ordered through Express Options. In-Stock selection varies by store. Product Selection Unfinished
Electric Tankless Water heaters
images.thdstatic.comYour new electric tankless water heater features advanced water flow rate and temperature sensors designed to modulate power to the heating elements to maintain a user-selected output water temperature between 80°F (27°C) and 140°F (60°C) (subject to incoming water temperature and power of the selected heaters). ...
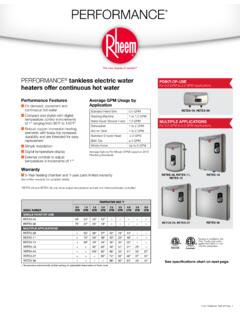
PERFORMANCE tankless electric water heaters offer ...
images.thdstatic.comPERFORMANCE™ tankless electric water heaters RHEEM PART NUMBER GPM RATING OF INSERTS PROVIDED CONNECTION SIZE RTE10001A 1.0, 1.5, 2.0 1/2" NPT RTE10001B 2.0, 3.0, 4.0, 5.0 3/4" NPT Optional Inline Flow Regulator • Enhanced outlet temperature control • Install on the outlet side of the heater • Limit maximum volume to the specified flow

PRODUCT GUIDE Interior & Exterior Doors (JPG013)
images.thdstatic.comInformation for Replacement weatherstrip Product Identification Weatherstrip Location Weatherstrip Type Color Amount Needed 1. Determine amount needed by measuring each piece to be replaced. Note the location on the door of each type of weatherstrip. 2. For each type of weatherstrip, add all measurements, then add an additional 10%. 3.
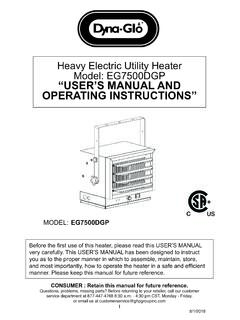
Heavy Electric Utility Heater Model: EG7500DGP “USER’S ...
images.thdstatic.com“USER’S MANUAL AND OPERATING INSTRUCTIONS” MODEL: Before the first use of this heater, please read this USER’S MANUAL very carefully. This USER’S MANUAL has been designed to instruct you as to the proper manner in which to assemble, maintain, store, and most importantly, how to operate the heater in a safe and efficient manner.
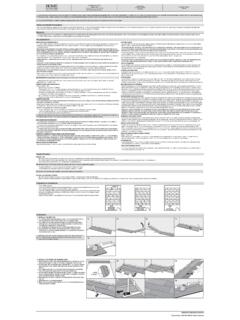
CONCRETE SUBFLOOR REQUIREMENTS NEW …
images.thdstatic.comApproved subfloors include concrete, plywood, OSB, particleboard, chipboard, hardwood (solid, engineered, parquet), tile (ceramic, terrazzo, stone, asbestos, peel and stick), non-cushion sheet vinyl, metal, VCT, DRIcore. Adhered and sound vinyl sheet goods, linoleum and resilient (VCT) tiles: Old vinyl and linoleum tiles or sheet goods normally ...
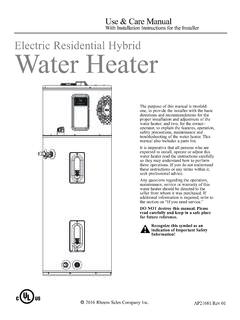
Electric Residential Hybrid Water Heater
images.thdstatic.comElectric Residential Hybrid Water Heater The purpose of this manual is twofold: one, to provide the installer with the basic directions and recommendations for the proper installation and adjustment of the water heater; and two, for the owner– operator, to explain the features, operation, safety precautions, maintenance and
Related documents

USG Durock Brand Cement Board Installation Guide (English ...
pdf.lowes.comUSG DUROCK® BRAND CEMENT BOARD For more than 30 years, USG D urock® Brand Cement Board has set the standard for proven performance in the backerboard category.

SUPER DAMPER - ATI Racing
www.atiracing.comRemove pulley bolts, install pulley, apply Loctite and torque all bolts. Proceed directly to Installation of ... and follow the instructions enclosed with the Fixture before proceeding to step 6. 4. If a rear pulley (i.e. 4 rib A/C) is being used, it must be placed on the back of the hub before the hub is pressed on the crank. Installing an ...
19. Case Study of Aircraft Wing Manufacture 1
global.oup.comfixtures. One such fixture appears in Figure 19-4. These fixtures hold the parts in position while at least a few fasteners are installed or welds are made. These are often called tack fasteners or tack welds. In many cases, they are removed in the process of …

VOLUNTARY SERVICE CAMPAIGN 2011 - 2013 JUKE TIMING …
static.nhtsa.gov; remove the rear torque rod and rear torque rod bracket, remove the heat . insulator for the right front axle boot, and remove the bolts for the right front axle support bearing bracket as follows: Rear torque rod . Figure A1 . a. Remove the rear torque rod. Torque rod is held on with 2 bolts (see Figure A1). b. Remove the rear torque rod bracket.
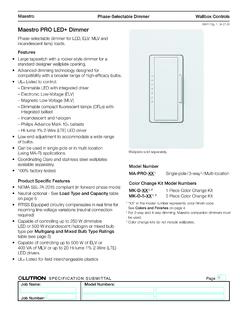
Maestro PRO LED+ Dimmer
www.lutron.comTo replace lamp(s), remove power by pulling the FASS out fully on all main controlling devices. After replacing lamp(s), push the FASS ... transformer efficiency, contact either the fixture or transformer manufacturer. The total VA rating of the transformer(s) shall not exceed the VA rating of the dimmer/switch. ...
Ballistic Resistance of Body Armor NIJ Standard-0101
www.ojp.govThe Standards and Testing Program is sponsored by the Office of Science and Technology of the National Institute of Justice (NIJ), Office of Justice Programs, U.S. Department of Justice.