Web Interface Quick Start Guide - SnapAV
Web Interface Quick Start Guide. 2 Read this page before you go to the job site! ... and that the unit is powered up, then click the Refresh button. Click on the entry for your NVR to view its details. If the NVR is inactive, use the text boxes at the lower right of
Download Web Interface Quick Start Guide - SnapAV

Information
Domain:
Source:
Link to this page:
Documents from same domain

KEY FEATURES - Welcome to SnapAV
www.snapav.comKEY FEATURES Surge Protection with Fireproof MOVs – Advanced Ceramic MOV technology reduces risk of fire from surges. IP Control – Provides control of all outlets over an IP network. Turn outlets on and off through a web browser.

OWNER’S MANUAL >> Binary™ 2CAT Extender
www.snapav.comOWNER’S MANUAL >> Binary™ 2CAT Extender WELCOME TO THE BINARY™ BRAND OF PRODUCTS This product is engineered to provide years of exceptional reliability. Binary™ ... Cat 5e/ Cat 6 Cables TRANSMITTER RECEIVER. INSTALLATION 1. Test all associated equipment and cables in the system for proper operation.

310 SERIES MULTI-WAN GIGABIT VPN ROUTERS Quick Start …
www.snapav.com310 SERIES MULTI-WAN GIGABIT VPN ROUTERS Quick Start Guide AN-310-RT-4L2W

WIRELESS ACCESS POINT SOFTWARE MANUAL
www.snapav.com1 - About this Manual. This manual details setup and use of the built-in web interface software menus for all Araknis Wireless Access Points. 1.1 - Understanding Model Differences and Images. You may notice minor differences between the images and call-outs in the manual versus what you see in your interface.

MX-450 Easy Programming Guide - SnapAV
www.snapav.coma single LCD button, like all of the commands necessary to watch TV. Once programmed, a single button press will execute all of the commands to complete the activity. A. From the Advanced Setup screen use the 5-way cursor to select Macros. B. Select whether you would like to Setup a New Macro or Test/Edit Existing Macro. What’s an ACTIVITY?

Nest Thermostat E Pro Installation & Configuration Guide
www.snapav.comGeneral Information N e s t T h e r m o s t a t E I n s t a l l a t i o n F e a t u r e s No jumper wires needed T h e N e s t T h e r m o s t a t d o e s n o t u s e ...
310 SERIES LAYER 2 MANAGED NETWORK SWITCHES …
www.snapav.comThe user must use the class I optical transceivers which conform to U.S. code of federal regulation, 21 CFR 1040. This equipment is only to be connected to PoE networks without routing to outside plants.
110 SERIES UNMANAGED+ NETWORK SWITCHES Quick …
www.snapav.comFactory Reset – Press and hold the RESET button for 10-15 seconds until the status LEDs flash once. The switch will power cycle and be reset to factory default settings. Pro Tip: Rebooting the Switch 1 3 5 7 1 Gbps Link/Act RESET 2 4 6 8 AN-110-SW-R-8 AN-110-SW-F-8
Related documents
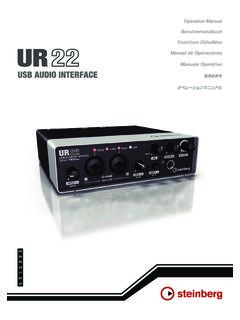
USB AUDIO INTERFACE - download.steinberg.net
download.steinberg.netInterface. The UR22 neatly integrates essential music production functionality into one compact, durable device. Although it is small and portable, the UR22 has been designed to deliver sound quality on a par with high-end models. A major contributor to that outstanding sound is the “D-PRE.” From parts selection to circuit design, every aspect
Yale Real Living™ Touchscreen Deadbolt Installation and ...
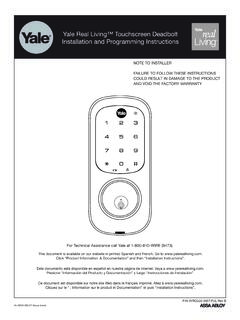
us.yalehome.comto access the reset button. 2. The reset button (see image at right) is located above the PCB cable connector. 3. Hold down the reset button for a minimum of 3 seconds and then reinstall the batteries; once the batteries are properly installed, release the reset button. 4. Reassemble the lock by reversing the same steps on page 6.
How to change Live View on local monitor Description
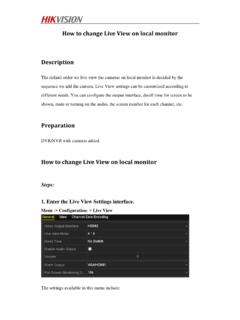
www.hikvision.comYou can click button to start live view for all the channels and click to stop all the live view. 3) Click the Apply button to save the setting. You can also click-and-drag the camera to the desired window on the live view interface to set the camera order.
How to configure NTP and DST - Hikvision
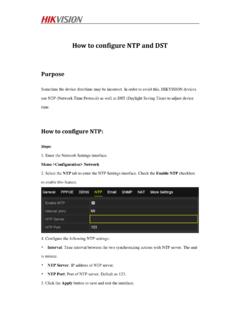
www.hikvision.comClick the Apply button to save and exit the interface. 6. Or configure it via web browser in the interface below. Note: The time synchronization interval can be set from1 to 10080min, and the default value is 60min. If the NVR is connected to a public network, you should use a …
Universal Serial Bus (USB)
www.usb.orgHuman interface Data glove 2.1 Scope This document describes the Human Interface Device (HID) class for use with Universal Serial Bus (USB). Concepts from the USB Specification are used but not explained in this document. The HID class consists primarily of devices that are used by humans to control the operation of computer systems.

AUDIO INTERFACE MANUAL
zoomcorp.comAudio interface and control surface 2 R8 audio interface system requirements 4 ... 7 Press the “Apply” button. Choose the type of Cubase LE function from the Category pop-up menu. 2 Commands can be assigned using the three columns displayed on the right side of the window.