Example: quiz answers
CONTROL4® CHIME VIDEO DOORBELL
Chime is the first video doorbell designed for the Control4 smart home. Chime allows homeowners to see and talk to visitors while controlling the most important smart home features. Customers can see and hear who’s at the door through the Control4 mobile app or touchscreen, and a 5MP camera with a 180-degree
Tags:
Information
Domain:
Source:
Link to this page:
Documents from same domain

Control4® EA-3 Controller
www.control4.comControl4® EA-3 Controller The versatile Control4 EA-3 Entertainment and Automation Controller is the perfect fusion of multi-room, high-resolution audio and

Wireless Thermostat Installation Guide - Control4
www.control4.comSupported Model CCZ-T1-W Wireless Thermostat - White WARNING! Install in accordance with all national and local electrical codes. WARNING! This product is not intended for use with line-voltage baseboard heaters.

Composer HE Getting Started Guide - Control4
www.control4.comComposer HE 2.9.0 Getting Started Guide Legal notices . 2. Legal notices . Control4 disclaimer . Control4 ® makes no representations or warranties with respect to this publication, and specifically disclaims any express or implied

SR-260 System Remote Control Data Sheet
www.control4.comControl4® System Remote Control SR-260 Control4 System Remote Control SR-260 (C4-SR260, C4-SR260-I) The Control4 SR-260 and SR-260-I remotes are …
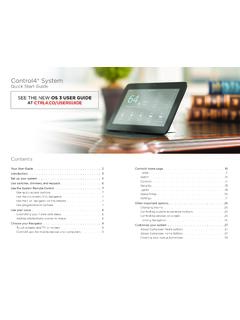
Control4 System Quick Start Guide
www.control4.comUse a dimmer 1 To use a dimmer, press and hold the top of the dimmer to slowly brighten the light, and press and hold the bottom to slowly dim it That’s all there is to it! 2 You can also use it like an on/off switch, if you’d like Press and release the top of the dimmer to ramp the light up to full brightness Press and release
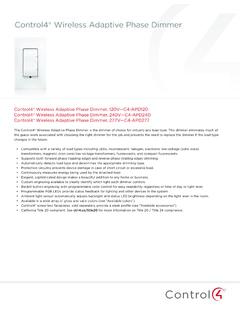
Wireless Adaptive Phase Dimmer Data Sheet
www.control4.comControl4® Wireless Adaptive Phase Dimmer The Control4® Wireless Adaptive Phase Dimmer is the dimmer of choice for virtually any load type. This dimmer eliminates much of the guess-work associated with choosing the right dimmer for the job and prevents the need to replace the dimmer if the load type changes in the future.

Control4® Wireless Switch
www.control4.comControl4® Wireless Switch The Control4® Wireless Switch provides on/off control for a variety of load types. With its robust relay and high amperage rating, the Switch can handle even high in-rush loads such as fountain pumps or large banks of fluorescent lights. It can even be used to switch wall outlets.
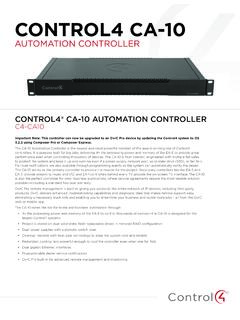
CONTROL4 CA-10
www.control4.com• 4× the processing power and memory of the EA-5 to control thousands of devices—the CA-10 is designed for the largest Control4 systems • Project is stored on dual solid-state, field-replaceable drives in mirrored RAID configuration • Dual power supplies with automatic switch-over
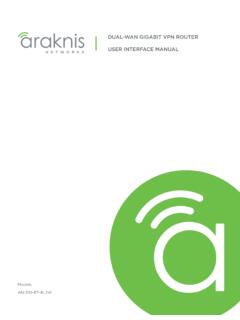
DUAL-WAN GIGABIT VPN ROUTER USER INTERFACE MANUAL
www.control4.comUser Interface Manual About this Manual About this Manual This manual provides installers and end users with current information regarding the installation, setup, use, and maintenance of the product. The symbols below identify important information: Pro Tip – Pro tips provide extra value, utility, or ease of use. Pro tips may also link to extra
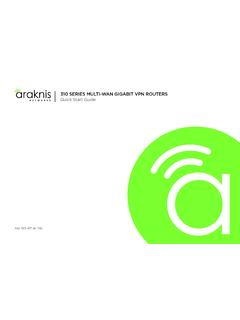
310 SERIES MULTI-WAN GIGABIT VPN ROUTERS Quick Start …
www.control4.comThank you for choosing our new line of Araknis 310 Routers. With Gigabit connectivity on all ports, Multi-WAN (up to 3), and advanced networking functionality (QoS, VLANs, VPN, port forwarding), these routers are top of the line and meant …
Related documents
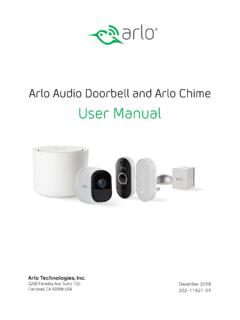
Arlo Audio Doorbell and Arlo Chime User Manual
www.arlo.comchime The Arlo Audio Doorbell is compatible with AC-powered mechanical and digital chimes operating between 8-24 volts. The Arlo Audio Doorbell isn’t compatible with wireless door chimes or any chime or intercom system using a DC transformer. Set the chime switch The chime switch is located inside the Arlo Audio Doorbell. This switch is only used
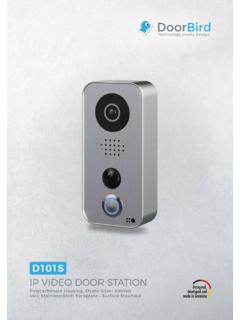
IP VIDEO DOOR STATION - DoorBird
www.doorbird.comPower, electric door opener/strike, door chime, door opener button, network Weather protection Yes, IP65 Approvals IP65, CE, FCC, IC, RoHS, REACH, IEC/EN 62368, IEC/EN 62471 Dimensions 157 x 75 x 35 mm (H x W x D) 6.18 x 2.95 x 1.38 in (H x W x D) Operating conditions-20 to +40°C / -4 to 104°F Humidity 10 to 85 % RH (non condensing) Scope of ...

SYSTEM USER GUIDE
buy.dmp.comChime Press Chime to turn the chime feature on and off. If chime is on, the keypad will sound an alert and display a notification when external doors and windows (with sensors installed) are opened. Reset Press Reset to reset fire and panic sensors after they have triggered an alarm. Favorites Favorites displays a list of your Z-Wave favorites.

Installation and Operation Guide Portable, Wired ...
livewell.honeywellhome.com8. Check that the transmitter is linked with the chime.* Two ‘beep’ sounds are heard after the normal tune Replace doorbell push battery with a new CR2032. The halo light flashes yellow at the bottom edge Replace doorbell batteries with 4 new C alkaline batteries. Range is reduced 1. Metal structures including uPVC door frames can reduce ...

Bosch Solution 6000 User Manual - Serious Security
www.serioussecurity.com.au1-1-2 Add PIN 2-0-5 Chime On/Off 3-0-5 Smoke Sensor Reset 4-0-5 Door Override 1-1-3 Delete PIN 2-0-6 Chime Mode 3-1 Zone Properties 4-1 Output Properties 1-2 Token 2-1 Area Properties 3-1-0 Zone Name 4-1-0 Output Name 1-2-0 Add Token 2-1-0 Area Name 1-2-1 Delete Token 2-1-6 Part Mode 1 Name 3-9 Input Testing 4-2 Door Control 1-2-2 Token Status ...

Grandfather Clock Instruction Manual
imgdataserver.comRemove the cardboard sleeve, from around the chime rods and pendulum guide, by holding the cardboard sleeve at points ‘A’ and ‘B’ and pulling straight down. Pull straight downand off the ends of the chime rods and pendulum guide. (See figure 1). Remove the foam pads from between the chime hammers and chime rods.