Example: confidence
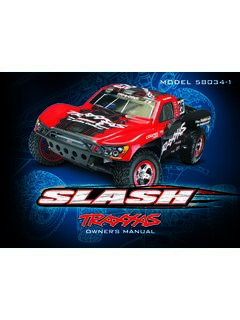
owners manual - Traxxas
the battery holder is plugged into the transmitter. 3. Reinstall the battery door and snap it closed. 4. Turn on the transmitter and check the “ON” LED for a solid green light. Note: Switching the transmitter on with your mobile device installed will automatically launch …
Tags:
Information
Domain:
Source:
Link to this page:
Documents from same domain

Electronic Speed Control Instructions - Traxxas
traxxas.comThe on/off switch does not interrupt current flow between the batteries and the XL-5. • Transmitter on First: Switch on your transmitter first before switching on the speed control to prevent runaways and erratic performance. ... Electronic …

Slash (Model 58024) Parts List - RC Trucks | Traxxas
traxxas.com3632X Caster blocks, 30 -degree, red -anodized 6061 -T6 aluminum (left & right)/ suspension screw pin (2) 3215 5347 Rod ends, Revo® (large) with hollow balls (12)

Upgrade to Extreme Power with - Traxxas
traxxas.comItem 5207R: Traxxas TRX 2.5R Racing Engine. Item 5407: Traxxas TRX 3.3 Racing Engine Item 6509. R: TQi System 2-channel Traxxas Link Enabled with 5-channel . TSM . Receiver. Item 6507. R: TQi System 4-channel with Traxxas Link Wireless Module and 5-channel . TSM . Receiver Item 3. 480: V. XL-6s Electronic Speed Control and 2200Kv motor

owners manual - Traxxas
traxxas.com540 size motors and a 12-turn modified motor limit for 550 size motors with 0 timing when the motor is properly geared. If the motor or speed control is overheating, try a smaller pinion gear. Do not attempt to use a more powerful motor (fewer turns) than the above-mentioned motor limits or you could experience frequent thermal shutdown.
owners manual - Traxxas
traxxas.comThe limits for a Class B digital device are designed to provide reasonable protection against harmful interference in residential settings. This product generates, uses and can ... Please closely follow these precautions to prevent damage ... interference. Capacitors have been provided with the XL-5.

NiMH/LiPO FAST CHARGER INSTRUCTIONS
traxxas.comStorage charge Makes it easy to charge or discharge the battery to the proper storage voltage. Use this mode whenever the battery will be stored unused for more than 7 days. Fast charge Fast charges your battery without balancing your cells. Stops charging when the first cell reaches peak voltage. Depending on the
Rustler® 4X4 VXL (Model 67076- 4) Parts List - Traxxas
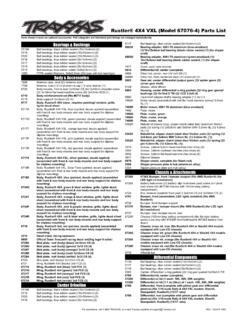
traxxas.com6720 Body mounts, front & rear/ 3x12mm CS (4)/ 3x12mm shoulder screw (2)/ 3x10mm flat -head machine screw (8)/ 3x12mm BCS (1) 6710 Body reinforcem ent set (fits #6717 body) 6719 Body support/ 3x12mm CS (4) 6717 Body, Rustler® 4X4 (clear, requires painting)/ window, grille, lights decal sheet

VXL-3s Electronic Speed Control Instructions Covers Part ...
traxxas.comelectronic speed control. The Velineon™ VXL-3s forward/reverse electronic speed control simplifies brushless technology with easy, built-in profiles and intuitive programming. The VXL-3s uses advanced circuit design that allows sensorless brushless motors to operate with the smoothness and precision of the best brushless systems.
X-Maxx® (Model 77086-4) Parts List - Traxxas
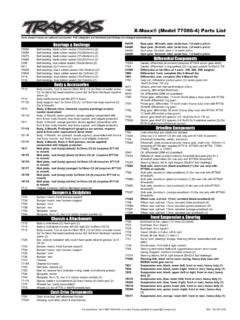
traxxas.comPage 2 X-Maxx®: TQi™ Traxxas Link™ Enabled 2.4GHz Radio & TSM® (Model 77086- 4) Parts List . REV. 220106 1035 . 7830T Suspension arm, orange, lower (right, front or rear), heavy duty
E-Maxx s Owner Manual - Traxxas
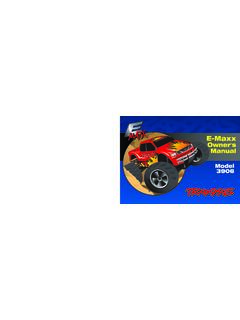
traxxas.com7 Anatomy of the E-Maxx 8 Quick Start: Getting Up to Speed 9 Gluing the Tires 10 Decorating Your E-Maxx 11 The Traxxas TQ-3 Radio System 21 Driving the E-Maxx 22 Adjusting ... corner of a decal and lift it from the backing. Carefully position the decal over the desired location and press one side on the body. Pull the decal tight
Related documents

Manual: Rosemount Integral Orifice Flowmeter Series
www.emerson.comthe DP transmitter. 4. Torque the bolts to 32 lb-ft using a cross pattern. Note Protect the transmitter sensing diaphragms and do not remove the O-rings in transmitter sensor module. 5. Carefully assemble the Rosemount 1195 body to the manifold and pressure transmitter sensor making sure the “H” and “L” on transmitter and primary match. 6.

EJA430E Gauge Pressure Transmitter
web-material3.yokogawa.comEJA-E series models in their standard confi guration, with the exception of the Fieldbus, PROFIBUS and Low Power types, are certifi ed as complying with SIL 2 for safety requirement. STANDARD SPECIFICATIONS Refer to GS 01C31T02-01EN for Fieldbus communication type and GS 01C31T04-01EN for PROFIBUS PA communication type for the items
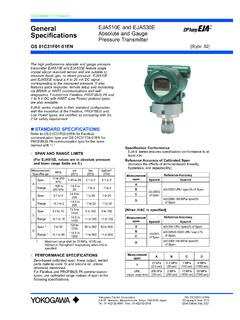
EJA510E and EJA530E Absolute and Gauge Pressure Transmitter
web-material3.yokogawa.comEJA-E series models in their standard configuration, with the exception of the Fieldbus, PROFIBUS and Low Power types, are certified as complying with SIL 2 for safety requirement. STANDARD SPECIFICATIONS Refer to GS 01C31T02-01EN for Fieldbus communication type and GS 01C31T04-01EN for PROFIBUS PA communication type for the items