Transcription of Rear shock install for mk2 and mk3 Tools needed
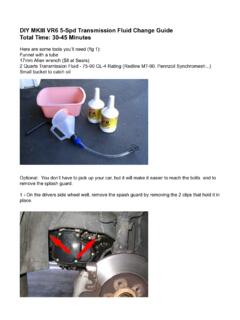
1 rear shock install for mk2 and mk3 Tools needed 1 Floor jack 2 2 x axle stands 3 17mm lug wrench 4 17mm box end wrench 5 Spring compressor Tools 6 Adjustable wrench 7 Liquid wrench 8 10mm socket 1. jack up car 2. take of rims 3. put the car on axle stands so that swings arm can move freely 4. remove rear side cover panels by removing these nuts 5. remove rubber dust cap to find this 6. undo nut and remove cap 7. use 17mm wrench on the nut and the adjustable wrench on the strut top to hold it while being undone 8. with the nut and seat removed you can see the strut mount which can now be removed 9. don t forget to remove the lower seat as well (so it doesn t get lost) 10. repeat these steps on the other side, and you will be able to lower the rear axle 11. using an impact gun will make removing the lower mounting bolt much easier 12. put the 17mm box end wrench inside the rear axle to hold the nut 13.
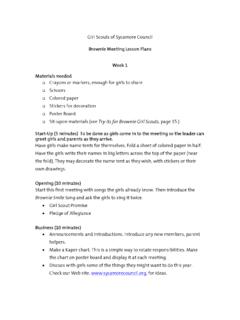
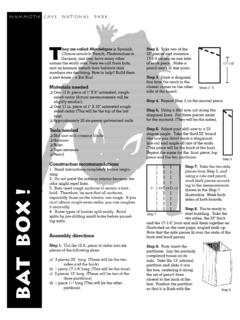
2 Use the impact gun or a breaker bar to undo the shock mount bolt (liquid wrench on the nut and bolt will make this part much easier) 14. remove assembly now 15. use adjustable wrench to hold shock from spring and use 17mm wrench to undo and remove nut. note I used a spring compressor on theses assemblies since they are stock springs 16. with the nut removed you can remove the spacer and spring seat 17. remove bump stop and dust cover 18. with those gone you can remove the spring to leave you with a bare shock 19. note that some replacement shocks will come with a lower spring seat and some will not. You may have to remove the spring seat by sliding it off . ours had to be reused the reassembly is the reverse. make sure that all nuts and bolts are tightened to the proper amount prescribed by \X/ cheers mrkil