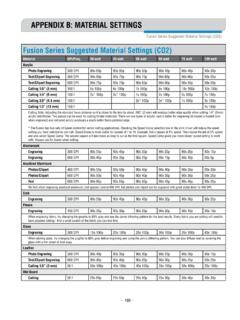
APPENDIX B: MATERIAL SETTINGS - Epilog Laser
Start with a lower power setting, look at the engraving, then run the project a second time at high speed and lower power a second time to add a little more depth if needed. • Run only one part of the file : If running a job on a new material, you can always just select one piece of the engraving, like a piece of text, and
Download APPENDIX B: MATERIAL SETTINGS - Epilog Laser

Information
Domain:
Source:
Link to this page:
Documents from same domain

Settings for Success: Techniques for most popular ...
www.epiloglaser.comDepending on the wattage of your laser, the best approach is to set the laser power at 100 percent and adjust the speed to obtain the desired depth. Wood is a very easy material to work with and you can produce very nice detail with as little as 300 DPI engraving. 600 DPI engraving into wood produces even better results.
MINI 18/24 & HELIX - Epilog Laser
www.epiloglaser.comthat turn the laser off if the door is opened during operation, and no special precautions are necessary to operate the high-power laser safely. However, the visible output beam of the Laser Diode Pointer (Red Dot Pointer) is accessible to the operator.

ZING 16 / 24 - Epilog Laser
www.epiloglaser.comThe laser cabinet has safety interlocks that turn the laser off if any access door is opened during operation, and no special precautions are necessary to operate the high-power laser safely. However, the visible output beam of the Laser Diode Pointer (Red Dot Pointer) is …

APPENDIX B: MATERIAL SETTINGS - Epilog Laser
www.epiloglaser.comyour settings by engraving a small square or cutting a small circle. You can fine tune your settings in these areas. • Similar materials use similar settings: When you are working with a material you aren’t familiar with, think about a similar material and what settings you would use with that product.
Section 5: Connecting the Laser to Your Computer
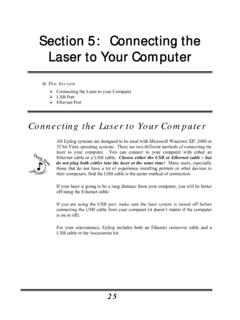
www.epiloglaser.comSection 5: Connecting the Laser to Your Computer 26 The data port connections are on the back of the machine, towards the bottom right. The drawing below shows the location of the data ports on the laser system. USB Port A USB cable is included in the accessory kit. The USB port is located on the right side of the machine, near the rear.
SECTION 3: DRIVER INSTALLATION - Epilog Laser
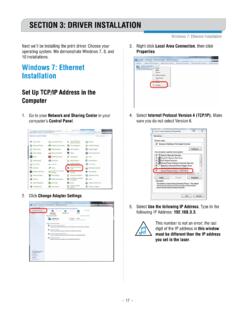
www.epiloglaser.comWindows 8 and 10: Ethernet Installation SECTION 3: DRIVER INSTALLATION 4. Select Create a new port, then Standard TCP/IP Port. Click Next. 5. Enter the IP Address to match the IP Address you set at the laser in “Setting the IP Address” on page …

Windows 7: Ethernet Installation - Epilog Laser
www.epiloglaser.comWindows 7: Ethernet Installation SECTION 3: DRIVER INSTALLATION 13. Click Next. 14. Click Replace the current driver if requested, then click Next. 15. You can rename your printer here. We have not changed it for this document, but many users like to associate the driver name with the IP Address they are using, for example Epilog Helix 192.168.3.4.
Related documents

Preparing Files for the Laser Cutter
www.art.udel.eduPreparing Files for the Laser Cutter The UD/Art Laser Cutter (see a brief description here) is a tool that can be used to cut, mark and/or engrave into various materials. The laser cutter can accept vector (line art) and/or bitmap (1-bit raster images), but knowing which to use is a combination of artistic vision and technical knowledge.
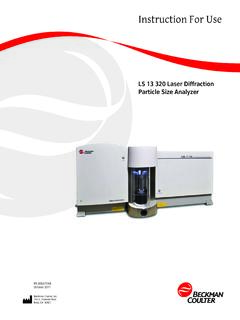
LS 13 320 Laser Diffraction Particle Size Analyzer
www.beckmancoulter.comLaser Precautions Laser Precautions The LS 13 320 contains a 5 mW diode laser. The instrument therefore may pose certain hazards associated with low-power lasers if misused. You should be aware of these possible hazards as described in the next paragraph. Additionally, misuse of diluents for sample dispersion can also create hazardous situations.

Introduction to Confocal Laser Scanning Microscopy (LEICA)
www.umassmed.eduThe illumination intensity has to be very high. (LASER light) Photo multipier tubes ( PMT) are used for sen-sitive and fast single point intensity registration. The light source is scanned over the sample. The image has to be rebuilt from the recorded point intensities according to …

CP850/1000/1350/1500AVRLCD User’s Manual
dl4jz3rbrsfum.cloudfront.net5. Press the power switch to turn the unit on. The Power On indicator light will illuminate and the unit will “beep”. If an overload is detected, an audible alarm will sound and the unit will emit one long beep. To correct this, turn the UPS off and unplug at least one piece of equipment from the battery power supplied outlets.

Laser Pulses Power Energy Equations - Thorlabs
www.thorlabs.com• The average power output by the pulsed laser. • Note: average power provides no information about peak power, period, or pulse width. Figure 4. The modeled laser pulses (top) and CW laser output (bottom) provide the same energy per period, illustrated by the shaded areas. The CW laser's output power equals the pulsed laser's average power.

HP Laser MFP 136 Series
www8.hp.com6 Applicable to HP Laser MFP 136w/nw model only. Print, copy, scan and wireless6 HP Laser MFP 136 Series • This surprisingly small laser delivers exceptional quality, page after page. • Produce sharp text, bold blacks and crisp graphics. • Rely on a high-performance laser MFP at an affordable price.

Directed Energy Weapons Are Real . . . And Disruptive
ndupress.ndu.eduLaser energy can be generated as a continuous wave or in pulses, which also influences its lethality. High-energy lasers (HEL) can range from a few kilowatts to megawatts of average power. High-power microwave (HPM) and high-power millimeter wave weapons emit beams of electro - magnetic energy typically from about 10 megahertz