Transcription of Chapter 10 CONSTRUCTION METHOD FOR LIGHT GAUGE …
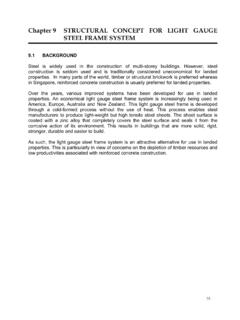
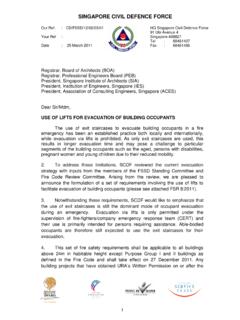
1 93 Chapter 10 CONSTRUCTION METHOD FOR LIGHT GAUGE STEEL FRAME SYSTEM STEEL WALL FRAMING - Erection Prefabricated steel wall framing can be used with all types of floor CONSTRUCTION . Although framing varies in detail between manufacturers, the general principles are the same for all systems. Steel wall framing is erected in the same sequence as pre-fabricated timber, ensuring squareness and vertical alignment of individual frames. Figure CONSTRUCTION of lightgauge steel frame 94 The general procedure is as follows: 1) The wall layout is marked on the floor using straight lines. 2) Squareness is checked by accurately measuring diagonals in large areas of the house first, then individual rooms. 3) Internal wall frames are stacked inside the boundaries and external walls around the foundations, with the first frame on top.
2 4) External frames are placed around the perimeter with their bottom plates adjacent to their final positions. 5) Starting at any convenient external corner stand and plumb a wall frame panel in its exact position. 6) Stand and plumb the adjoining frame to make a self-supporting corner. 7) Clamp the frames together and check again that both frames are in their exact locations and standing vertical. 8) Connect the frames using the manufacturers recommended METHOD - generally nails, screws or rivets. 9) Proceed with the erection of the frames around the house, standing internal and external frames as they occur. 10) Provide adequate temporary bracing during wall frame erection. The line of top plates in a run of walling should be checked with a string. Figure Installation of floor joist and wall studs STEEL WALL FRAMING - Anchoring Steel framing must be firmly anchored to the foundation or floor structure.
3 Wherever possible, the walls should be anchored as soon as possible after they have been plumbed and aligned. There are two forces you must account for when attaching walls to the foundation or floor slab. These forces are shear and uplift. The Prescriptive METHOD for residential cold-formed steel framing provides details, sizes and types of anchoring. The Prescriptive METHOD provides several details for anchoring steel-framed houses. Figure in the Prescriptive METHOD depicts a steel frame floor system anchored to a wood sill on top of a concrete foundation. The wood sill is tied to the foundation with anchor bolts, similar to wood CONSTRUCTION . The rim joist of the steel floor system is fastened to the wood sill with a steel plate. Figure of the Prescriptive METHOD shows a detail of a steel floor system attached directly to the concrete foundation using clip angles and anchor bolts.
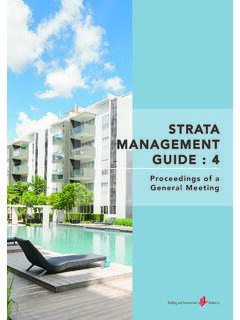
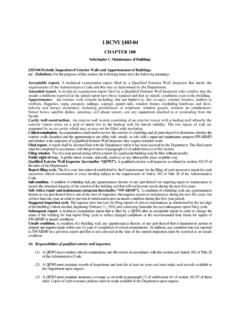
4 Figure shows the wall to foundation connection. J-bolts are commonly used in such connections. A piece of stud is used as a washer when bolting the walls to the foundation. Figure : Floor to Wood Sill Connection Figure : Floor to Foundation Connection 96 Figure : Wall to foundation connection The load bearing walls of a steel-framed house must be braced to protect the wall from shear forces and prevent the walls from racking. Shear bracing keeps a house from leaning or falling over. There are two ways of applying shear wall bracing on a steel-framed house; either structural sheathing or X-bracing. Structural Sheathing Zinc-coated metal sheet ie; thickness is adequate to keep the wall from racking as long as there are not excessive openings in the wall or excessive lateral loads.
5 In order for structural sheathing to be effective, it should be installed with the long dimension parallel to the stud framing (vertical orientation). The metal sheet may be attached to the wall while panelizing or after the wall is plumb and level. Make sure that the sheathing is fastened tightly to the steel frame. Draw the metal sheet up tight against the wall with No. 8 self-drilling screws. Finish attaching the metal sheet with screws or pneumatic pins. (See Figure of the Prescriptive METHOD , Structural Sheathing Fastening Pattern, shown here.) 97 Figure Structural Sheathing Fastening Pattern X-Bracing X-bracing is another way to obtain shear strength when structural sheathing is not used. X-braces are diagonal steel straps attached to the walls with screws.
6 They are most commonly used with stucco walls or in termite-prone areas. The following must be taken note when using X-bracing: An engineer must design X-bracing Installation of the straps should be inspected to ensure the correct number of fasteners is used. It is recommended to either cut and tack the strap to the wall during panelization or install the strap after the wall is in place. X-bracing can be installed after the walls have been raised, plumbed, aligned and attached to the foundation or floor deck. ROOR FRAMING The roof frame can be screwed directly onto the wall frame. Truss spacing can be at 600mm centres for sheet and tile roofs or 1200mm centres for sheet roofs only. The manufacturer's instructions on type, placement and number of fixings should be followed at all times.
7 EXTERNAL DOOR AND WINDOW FRAMES The same door and window frames used in timber-framed CONSTRUCTION are also used in steel-framed CONSTRUCTION . If aluminium window frames are fitted into timber they can be installed by fastening through the jamb studs into the back of the reveal after positioning. If it is not possible to secret-fix the frame, as may be the case with a window or door head, countersunk head self-drilling screws of appropriate length can be driven through the frame and packing into the steel framing. The same type of screws may also be used to fasten aluminium window frames direct to steel frame openings. 98 INTERNAL DOOR FRAMES Timber door frames in internal walls can be secret-fixed through the back of jamb studs with screws or nails. Alternatively the frame may be fastened through the jamb into the studs with countersunk head self-drilling screws.
8 EXTERNAL WALL CLADDING If required in the external walls reflective foil sarking may be attached to the external flange of the steel studs with self-drilling screws fitted with 25mm flat fibre washers. Alternatively wafer head screws may be used. Wire brick ties which simply clip on to steel studs are available for brick veneer CONSTRUCTION . For single wall CONSTRUCTION fibre cement sheeting can be fixed to steel frames with self-drilling, self-embedding head screws. Timber weatherboards can be fastened to steel studs with extended point countersunk head self-drilling screws. Steel sheet cladding is also fixed with self-drilling screws. 99 INTERNAL WALL LINING To fix plasterboard wall linings in a steel-framed house, self-drilling screws are used instead of plasterboard nails.
9 The same adhesives are used on a steel frame. With a correctly set screw gun bugle, head screws can be tightened to finish slightly below the surface of the plasterboard without damaging the paper facing. Figure Installation of boards In wet areas, water resistant lining board is fixed with self-drilling self-embedding head screws. Flashing and tiling are done in the usual manner. Pre-finished wall linings may be glued to steel studs with a wallboard adhesive and braced in place until bonded. Figure Plasterboard is screwed into position to complete the wall installation Figure Detailing for wet areas