Transcription of Determination of Chloride using Potentiometry 1. Purpose 2.
1 - 1 - Determination of Chloride using Potentiometry 1. Purpose This procedure will determine the concentration of Chloride ion with a Chloride specific ion electrode using Potentiometry . 2. Background Potentiometry is an electrochemical method in which the potential of an electrochemical cell is measured while little to no current is passed through the sample. In titrimetric methods, this measurement can be used to indicate the end point. When an ion-selective electrode is used, the measured potential is related to the ion activity in solution and a quantitative Determination can directly be made. The instrumentation used to perform Potentiometry is straightforward and relatively inexpensive, consisting of an indicator electrode, a reference electrode, and a potential measuring device.
2 One of the most common applications of Potentiometry is the measurement of pH. As indicated by the name, ion-selective electrodes possess a high degree of selectivity. These electrodes are routinely used in clinical laboratories to determine various ion concentrations (such as calcium ion) in blood samples. In this laboratory, the electrode used is specific for Chloride ion. Because specific ion electrodes measure activity and not concentration, a large amount of an inert strong electrolyte ( nitrate ion) can be added to fix the ionic strength to a constant value. When the ionic strength is constant, the activity is constant and concentration can be accurately measured.
3 In this laboratory you will fix the ionic strength with an ionic strength adjustment buffer (ISAB). You will be asked to determine the concentration of Chloride in an unknown sample at the ppm level. 3. Materials and Equipment Sodium Chloride Ionic strength adjustment buffer (ISAB) 1 L volumetric flask 250 mL beaker 250 mL volumetric flask 50 mL pipette 1 L plastic bottle Potentiometer Eppendorf micro pipette Magnetic stir bar 4. Safety / Special Handling Procedures Protective eyewear must be worn at all times. 5. Experimental Method Preparation of the standard solution Accurately weigh pure sodium Chloride to give about 2 grams of Chloride ion (show calculations).
4 Record this mass to 4 decimal places in your laboratory notebook and quantitatively transfer the NaCl with a wash bottle to a one liter volumetric flask. Dissolve, dilute to the mark with nanopure water, and mix. Calculate the concentration of Chloride ion in parts per million. Transfer to a plastic bottle and label it " Chloride working standard". - 2 - Preparation of the unknown Obtain an unknown Chloride sample and quantitatively transfer it into a 250 mL volumetric flask. Dilute to the mark with nanopure water and mix. Transfer to a plastic bottle and label appropriately. Obtain the large bottle marked "ISAB" (ionic strength adjusting buffer).
5 It contains approximately M sodium nitrate solution. You will prepare three samples of the unknown using three separate 250-mL beakers. Each of them should contain 50 mL aliquot of the unknown and 50 mL aliquot of ISAB. However, it is to your advantage to prepare four samples, if necessary. Since you have 250 mL of dilute unknown, if you rinse your 50 mL volumetric pipette carefully, you should be able to aliquot 50 mL four times. To do so, pipette a mL aliquot of the unknown Chloride solution into four clean dry beakers. Then, aliquot mL of ISAB into each beakers. These diluted samples will be individually analyzed by the instrument.
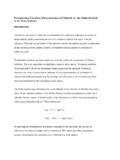
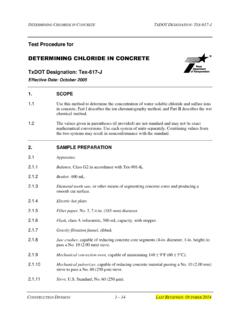
6 Use of the Accumet Model 15 Specific Ion Potentiometer: Before you use the micro-pipette, you should review and check/calibrate the micro-pipette. See Appendix A for more information on this. Use of the Accumet Model 15 Specific Ion Potentiometer: Figure 1. Accumet Model 15 Potentiometer Bring the following to the instrument room: 3 Beakers with the sample with watch glasses over them (keep the fourth beaker safe just in case) The Bottle with the Chloride standard An Eppendorf micro pipette (blue top. set to deliver 1000 L with a new plastic tip Wash bottle Kim Wipes (if none are already there) An empty beaker for rinsing purposes A magnetic stir bar - 3 - Remove the reference electrode from storage.)
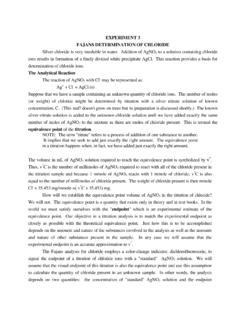
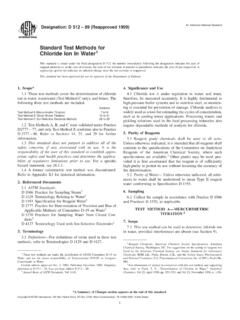
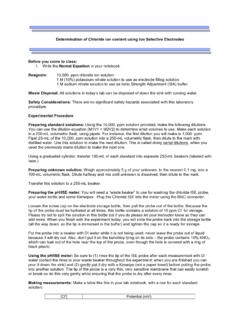
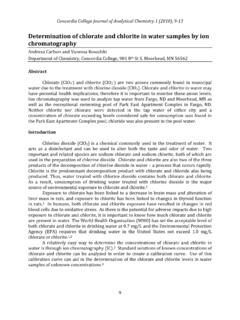
7 If not already positioned, set it into the empty space in the holder next to the Chloride electrode. Refer to Figure 1 for a picture of the potentiometer and Figure 2 for an image of the electrodes. Figure 2. Reference electrode (left) and Chloride electrode (right) The Chloride electrode has a rubber protection cap (the black cap in Figure 3) on the bottom. Slide the cap off carefully, using your fingernail. The bottom of the electrode is a flat crystal surface and must not be touched with fingers (only Kim wipes). Figure 3. Chloride electrode with the cap (left) and without the cap (right) Rinse the electrodes with nanopure water.
8 Collect the rinses in the empty beaker and carefully blot the electrodes dry with a Kim wipe. Place the sample beaker on the magnetic stirrer and carefully drop in the magnetic bar without splashing. - 4 - Insert the electrodes so that the bottom centimeter is immersed in the liquid. Adjust the stirrer to a slow speed (note: clockwise increases the speed). Do not allow the stir bar to touch the electrodes. Make sure that the potentiometer is plugged in and turned on. Press the "meas/monitor" button so that the instrument is actively reading the potential of the solution (if you see a symbol in the shape of a key on the screen, it is in the locked mode and so press the meas/monitor button again to unlock the instrument).
9 Verify that the meter reads "mV" at the bottom of the screen. The accuracy of the instrument is to the nearest tenth of a millivolt ( mV). When a steady reading is produced, record the millivolt reading in your notebook. After storage overnight or over the weekend, it may take a few minutes for the electrode to reach a steady reading. Spike the sample with 1000 L of the standard Chloride solution. Again, when the instrument produces a steady reading, record the number in your notebook. Repeat steps through for a total of three samples prepared. Rinse the electrodes and dry between each sample reading (post spike addition). Rinse the electrodes with nanopure water.
10 Cap the Chloride electrode and place the reference electrode in the storage bottle. For more accurate results, you must experimentally determine the exact volume delivered by the micropipette. Fill a small beaker with nanopure water and obtain a small empty vessel, such as the 50 mL Erlenmeyer flask. Tare the flask on your analytical balance and determine the mass of water delivered by the micropipette. Repeat this procedure for a total of three times. Use the density value of g/mL to determine the volume delivered by the pipette. Use this volume in your calculations. 6. Data Analysis / Calculations Note: These calculations are quite long.