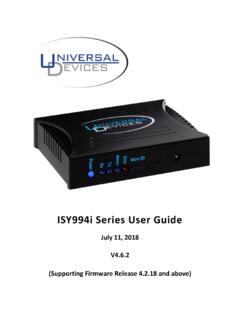
Transcription of ISY994i Series Quick Setup Guide 1. ISY Installation
1 - 1 - ISY994i Series Quick Setup Guide 1. ISY Installation 1. Connect one of the included Cat5e cable to ISY s network Port and to your network hub. Note: the network must initially be DHCP enabled. If DHCP is not enabled, please configure ISY with a static IP address the instructions for which you will find here. 2. Connect the second included Cat5e cable to ISY s Port A and the other end to the PLM Note: If your PLM is model number 2413S, you do need a power supply (included) 2. Host Computer Configuration A. If you do not have Java installed, please install the latest for your platform.
2 You may find the latest Java downloads at Please choose the latest JRE for your platform B. Follow these instructions to install ISY Finder/Launcher app (Figure 1) on your desktop which should be used here on out. Click on your ISY on the list which brings up the launch menu a. Click on the Admin Console menu item to perform the rest of the Setup in this document b. When prompted to authenticate, enter admin for both username and password - 2 - Figure 1 ISY Finder/Launcher C. On Universal Devices Administrative Console, choose Help | About (Figure 2) D. On the About Dialog, locate My URL and write down the URL.
3 For example, in Figure 2b, the URL is You may also access your ISY using this URL (as long as your router does not change the address for ISY) a. On Windows machines, you can access ISY by its name: http://isy Figure 2 Help Menu Figure 2B Help | About - 3 - 3. Set Time and Location Click on the Configuration | System tab and set the Time and the Physical Location for the unit (used for Sunrise/Sunset calculations). See Figure 3A. Figure 3A 4. Start Adding Your Devices A. INSTEON Click on the icon and then follow the instructions on the screen. Continue linking as many devices as desired before clicking on the Finish button.
4 See Figure 3C. For more comprehensive and in-depth INSTEON instructions, tutorials, and example, please review our Wiki section on INSTEON. Figure 3C - 4 - B. Z-Wave ( ISY994i ZW Series Only) For Z-Wave devices, you must first exclude the device and then include it. Choose Z-Wave | Remove / Exclude a Z-Wave Device menu item to exclude a device and then Z-Wave | Add / Include a Z-Wave Device to include the device (Figure 4). For more comprehensive and in-depth Z-Wave instructions, please review our Wiki section on Z-Wave. 5. Create a Program Click on the Programs | Details tab and you will see a sample Query All program.
5 Below that there is an option to Add Program Click on that. The example for this program will be to turn On the Porch Light at 7pm and off 4 hours later. See Figure 3B. Figure 3B For more comprehensive and in-depth instructions, tutorials, and example, please review our Wiki section on Programs. - 5 - Please give our Wiki a look where you will find many resources, including videos, examples, tutorials, and even full user guides in PDF/Word formats. For our Product and Technical Support Page please visit: Don t forget to register your unit to receive important enhancements, updates and upgrade information: ENJOY!
6