Transcription of POWERPOLE®CONNECTOR GENERAL INSTALLATION TIPS - …
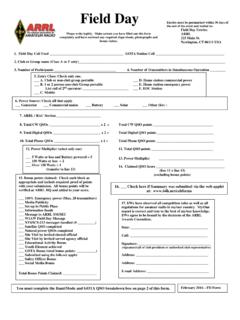
1 POWERPOLE CONNECTOR GENERAL INSTALLATION tips Assemble the red and black plastic housings together correctly on the first try, they fit snugly and can be difficult to get apart. See the picture below for ARES /RACES standard orientation that the RIGrunner uses. Note that you can assemble the red and black insulated housings in other ways for special applications. Put the connector housings together before putting the connector pins in, this is easier, especially when using heavy paired wire. Before soldering or crimping the contacts on to heavy paired wire, orient the contacts so that they are both facing the correct direction so that they go in the housings without twisting the wire.
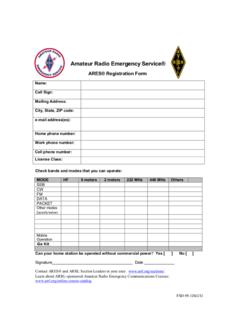
2 The plastic housings are held together with dovetail joints. Always slide these joints together! They will be damaged if you try to snap them together or apart. They ONLY slide together in one direction. This should be obvious by looking at them carefully. Do not use roll pins on Powerpoles? Some people supply roll pins with Powerpoles? Do not use them, they can and will fall out, and knowing Murphy, right in to your new radio causing smoke! Anderson does not supply or recommend roll pins, they supply not roll pins but much more expensive spiral pins, which are better.
3 We have tested both, even the proper spiral pins will fall out. If the pair of heavy wires are squeezed together near the back of the connector, like you might do when you pull the connector out, it will spread the bodies apart slightly and out falls the pin. We spoke to Anderson about this concern and they said that they recommend using a cyanocrylic glue, Crazy Glue, hold the connector bodies permanently together. They do not recommend their spiral pins for critical applications. Normally the dovetail joints in the housings hold well. If you find it necessary, glue them, don't use pins.
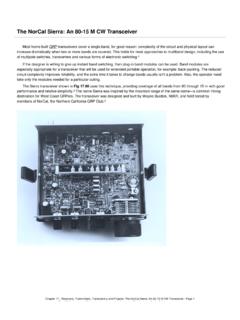
4 Make sure you have them assembled correctly BEFORE you glue, they will be permanently bonded together with a cyanocrylic. All it takes is a very small drop of cyanocrylic glue in the seam between the red and black bodies. N9EF suggests a bit of silicon glue injected in to the hole between the red and black housings. He says it holds them together quite well but they can be separated if needed. The contacts go in the housings in only one way. Insert the contacts with their sharp edge down against the flat spring that is in the housing. They should slide in and click.
5 If you do not hear a click or they are not fully seated, fix them. When they are inserted fully you should notice that the contact and it's wire "floats" slightly inside it's housing. If it feels tight it may not be snapped in fully or you have made the contact wider than it originally was during crimping or soldering. YOU WILL NOT BE ABLE TO INSERT THE CONTACTS INTO THE HOUSINGS IF THEY ARE TOO WIDE AFTER SOLDERING OR CRIMPING! Tug slightly on the assembled connector to make sure the contacts are locked in place. If you have trouble getting the contact to lock in to the housing you may have squashed the contact wider deformed it some how.
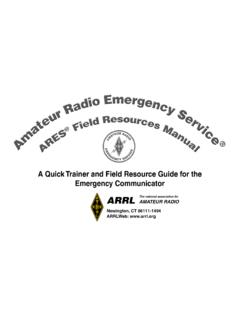
6 Look at the side profile of the contacts before and after crimping, you may have to bend it back straight before inserting it in to the housing. When soldering the contact pins, be careful not to use too much solder. Keep the solder inside, where the wire goes. If a blob of solder gets on the outside of the connector body you may have trouble putting the contact into the housing. If you get solder on the contact surface area you will not make a good contact. When crimping the contact pins use a crimp that contains the wire completely inside the pin and doesn't spread the connector apart.
7 A good crimp is one where the dimensions of the crimped portion are no more than an un-crimped pin. If the crimp is flattened out you will not be able to easily push the pin in to the body. If you bend the contact blade in relation to the crimp area you should straighten it before putting it in to the body. It is possibly to use larger or smaller gauge wire with the 30 and 45 amp connectors. The 30 amp connector pins will work with difficulty with #10 wire if you cut the end cleanly and carefully put each and every strand of that wire in to the pin. It may be is easier to use 45 amp connectors on #10 wire.
8 Using 16 gauge or smaller wire in a 30 amp contact requires that you double or triple up the wire to fill the crimp receptacle of the contact to get a good crimp. A properly crimped contact should have a minimum hold on the wire of more than 25 pounds. A pair of connectors should snap together with 6 to 8 pounds force. Last but not least, MAKE SURE you have the polarity correct before plugging in you equipment. "Measure twice, cut once" as the saying goes. Copyright 2012 West Mountain Radio