
DATASHEET - Ubiquiti
• Protective shroud The shroud* protects the cables and connectors from nature’s elements. • Mounting hardware of the RD-5G30-LW Made of galvanized steel that is powder-coated for superior corrosion resistance. • Fasteners of the RD-5G30-LW GEOMET-coated for improved corrosion resistance when compared with zinc-plated fasteners.
Download DATASHEET - Ubiquiti

Information
Domain:
Source:
Link to this page:
Documents from same domain
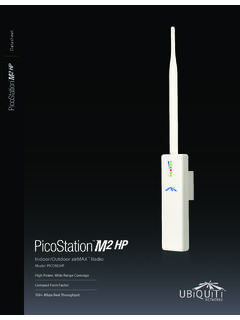
Datasheet - Ubiquiti Networks
dl.ubnt.comDatasheet www.ubnt.com/airmax 3 Software airOS is an intuitive, versatile, highly developed Ubiquiti firmware technology. It is exceptionally intuitive and …
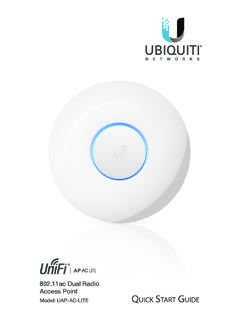
802.11ac Dual Radio Access Point
dl.ubnt.comThis Quick Start Guide is designed to guide you through ... 802.11ac Dual Radio Access Point Model: UAP-AC-LITE Gigabit PoE* (24V, 0.5A) with Mounting Bracket
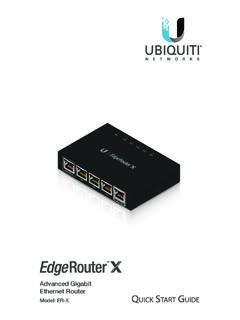
Advanced Gigabit Ethernet Router - Ubiquiti …
dl.ubnt.comThis Quick Start Guide is designed to guide ... Advanced Gigabit Ethernet Router Model: ER-X EdgeRouter X Power Adapter (12V, 0.5A) Quick Start Guide
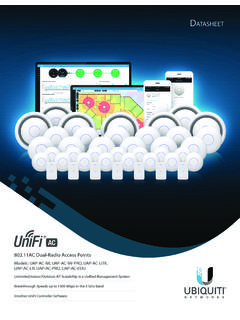
UniFi AC AP Datasheet - dl.ubnt.com
dl.ubnt.com3 D atasheet UniFi Controller Packed with Features Use the UniFi Controller to provision thousands of UniFi APs, map out networks, quickly manage
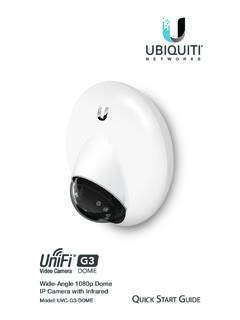
Wide-Angle 1080p Dome IP Camera with Infrared
dl.ubnt.comIntroduction Thank you for purchasing the Ubiquiti Networks® UniFi® Video Camera G3 Dome. This Quick Start Guide is designed to guide you through installation and includes warranty terms.
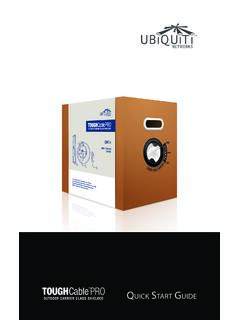
TOUGHCable PRO Quick Start Guide - Ubiquiti Networks
dl.ubnt.com2 TOUGHCable™ PRO Quick Start Guide TOUGHCable Box The Tension Knob is set to High by default. If necessary, the tension can be set to to Low or None. Tension Knob TOUGHCable PRO Cross-Section Conductor Insulation ESD Drain Wire
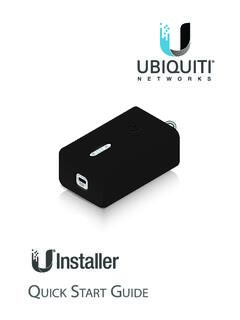
U-Installer Quick Start Guide - Ubiquiti Networks
dl.ubnt.comLEDs Wi-Fi Lights blue if the U-Installer has a Wi-Fi connection to your mobile device. Battery Four blue LEDs indicate the internal battery’s charge level: Full charge Low charge* * Recharge the battery by connecting a power source,
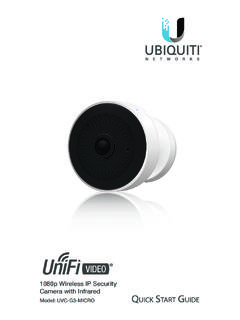
1080p Wireless IP Security Camera with Infrared
dl.ubnt.comIntroduction Thank you for purchasing the Ubiquiti Networks® UniFi® Video Camera G3 Micro. This Quick Start Guide is designed to guide you through installation and also includes warranty terms.
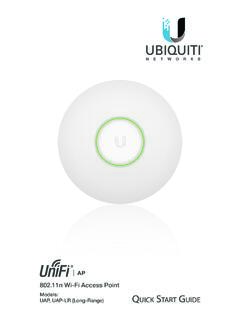
802.11n Wi-Fi Access Point - Ubiquiti Networks
dl.ubnt.comHardware Installation The UniFi AP can be mounted to the wall or ceiling. Perform the steps for the appropriate installation: Wall Mount 1. Position the Mounting Bracket at the desired location on the wall with the cable feed slot pointed towards the floor.
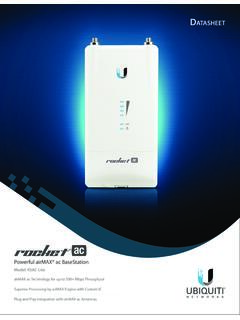
Rocket ac Datasheet - Ubiquiti Networks
dl.ubnt.comD atasheet 4 Technology Unlike standard Wi-Fi protocol, Ubiquiti’s Time Division Multiple Access (TDMA) airMAX ac protocol allows each client to send and receive
Related documents

CHEVROLET AND GMC BLAZER • JIMMY • S10 • SONOMA
chilton.cengage.com• Upper radiator shroud • Fan assembly • Drive belt assembly • Water pump pulley • Upper radiator hose • Air conditioning compressor, if equipped, and position aside with the lines intact • Lower radiator hose • Oil cooler and overflow lines from the radiator, plug the openings to prevent system contamination or excessive fluid loss

Inspiron 3647 Owner's Manual - Dell
downloads.dell.com1 Press in on the fan shroud and lift it to re lease the tabs that secure the fan shroud to the processor fan and heat-sink assembly. 2 Lift the fan shroud and set it aside. 1 processor fan and heat-sink assembly 2 fan shroud 1 2 book.book Page 14 Monday, November 25, 2013 3:53 PM

Inspiron 660s Owner's Manual - Dell
downloads.dell.comshroud to the processor fan and heat-sink assembly. 2 Lift the fan shroud and set it aside in a secure location. Replacing the Fan Shroud Procedure 1 Place the fan shroud over the processor fan and heat-sink assembly. 2 Gently press the fan shroud until the tabs on the fan shroud snap into place. Postrequisites 1 Replace the computer cover.
Installation Manual
downloads.hearthnhome.comShroud is installed properly per instructions. WARNING! Risk of Fire or Explosion! Failure to install fireplace acording to these instructions can lead to a fire or explosion. Verified that the chase is insulated and sealed. (Pg. 11) Verified clearances to combustibles. (Pg. 10) Fireplace is leveled and secured. (Pg. 14) Hearth extension size ...

UNEARTHED ARCANA Spells and Magic Tattoos
media.wizards.comSpirit shroud (necromancy) 5th Level . Summon celestial spirit (conjuration) 6th Level . Otherworldly form (transmutation) Paladin Spells . 3rd Level . Spirit shroud (necromancy) 5th Level . Summon celestial spirit (conjuration) Ranger Spells . 2nd Level . Summon bestial spirit (conjuration) Sorcerer Spells . 1st Level . Acid stream (evocation ...
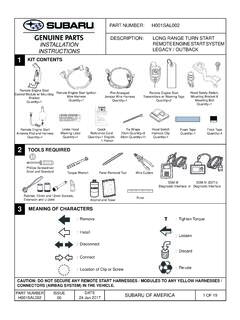
INSTALLATION REMOTE ENGINE START SYSTEM …
techinfo.subaru.comJan 24, 2017 · shroud panel. (FIGURE G) NOTE: Rotate the steering wheel to access the Phillips screws on the face of the steering column. FIGURE G Left Side Right Side FIGURE F 5. Using a 10mm socket/ratchet, remove the two (2) 10mm bolts securing the metal knee bolster. (FIGURE F) 4 OF 19 PART NUMBER H001SAL002 ISSUE 00 DATE

Bearings in centrifugal pumps - SKF
www.skf.comimpeller’s front shroud and hub (back) shroud due to the hydraulic pressures acting on the surface areas of the shrouds 2. the momentum force due to the change in direction of the fluid flow through the impeller, and 3. the hydrostatic force due to the hydraulic pressure acting on the impeller (suction) opening. The hydrostatic forces dominate