
IFT-RC400
your remote are low, a notification will display on the screen asking you to ‘replace remote batteries’. Refer to Replace Remote Batteries Section. Backup Battery The battery life indicator is for a backup power source located inside your appliance. It is intended to operate the appliance in the event of a power failure. Consult
Download IFT-RC400

Information
Domain:
Source:
Link to this page:
Documents from same domain

The Finishing Touch - Hearth N Home
downloads.hearthnhome.comVerTical VenTing gas TerminaTion cap High Wind Vertical Termination Cap This rugged cap is built to withstand high wind speeds, without sacrificing drafting
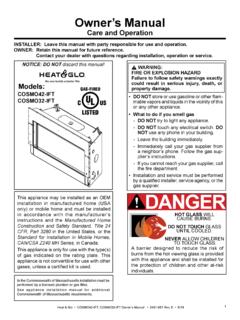
Owner’s Manual - Hearth N Home
downloads.hearthnhome.com2 Heat & Glo • COSMO42-IFT, COSMO32-IFT Owner’s Manual • 2491-981 Rev. E • 6/18 Listing Label Information/Location A. This Congratulations
Installation & Owner’s Manual - Hearth N Home
downloads.hearthnhome.comInstallation & Owner’s Manual Installation, Care and Operation INSTALLER: Leave this manual with party responsible for use and operation. OWNER: Retain this manual for future reference.
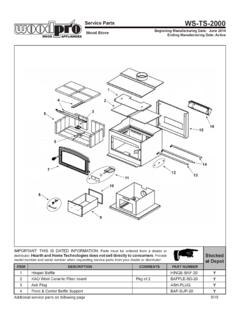
Service Parts WS-TS-2000 - Hearth N Home
downloads.hearthnhome.comService Parts Beginning Manufacturing Date: June 2014 Ending Manufacturing Date: Active WS-TS-2000 IMPORTANT: THIS IS DATED INFORMATION.Parts must …
Installation & Owner’s Manual - downloads.hearthnhome.com
downloads.hearthnhome.comInstallation & Owner’s Manual Installation, Care, and Operation INSTALLER: Leave this manual with party responsible for use and operation. OWNER: Retain this manual for future reference.
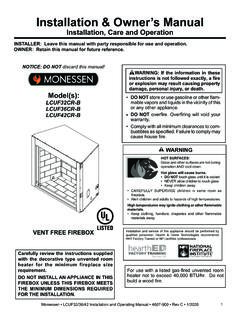
Installation & Owner’s Manual - downloads.hearthnhome.com
downloads.hearthnhome.comInstallation & Owner’s Manual Installation, Care and Operation INSTALLER: Leave this manual with party responsible for use and operation. OWNER: Retain this manual for future reference.
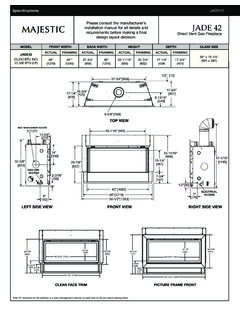
JADE 42 - downloads.hearthnhome.com
downloads.hearthnhome.comSpecifications JADE42 MAJ_JADE42_1018 Lakeville, MN Phone: (800) 927-6841 Web: www.majesticproducts.com Product information provided is not complete and is subject to change
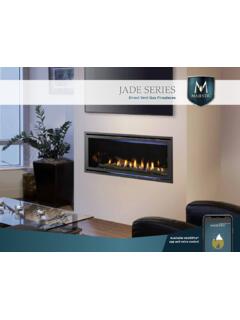
JADE SERIES - downloads.hearthnhome.com
downloads.hearthnhome.comThe Jade fireplace helps you unwind and rebalance with a ribbon of continuous flame and a soothing style. With its great looks, many features, easy operation and the reliability of Majestic, life is better. Sit back, relax and enjoy your home with the Jade fireplace from Majestic.
Owner’s Manual - downloads.hearthnhome.com
downloads.hearthnhome.comINSTALLER: Leave this manual with party responsible for use and operation. OWNER: Retain this manual for future reference. Contact your dealer with questions on installation, operation, or service.
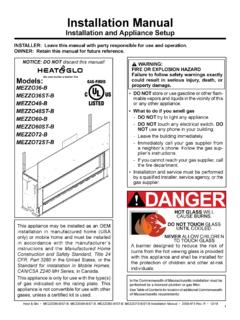
Installation Manual - downloads.hearthnhome.com
downloads.hearthnhome.com3 Heat & Glo • MEO36-BST-B, MEO48-BST-B, MEO60-BST-B, MEO72-BST-B Installation Manual • 2300-973 Rev R • 1218 Installation Standard Work Checklist
Related documents

Remote Engine Start System User’s Information Manual
owners.honda.comBattery Power Use the transmitter only when necessary. Every time a button is pressed, the remote engine starter is consuming battery power. If the battery is low on power, the transmitting range of the remote engine starter will be affected. Check the battery periodically, and replace it when necessary. For battery replacement refer to page 32.
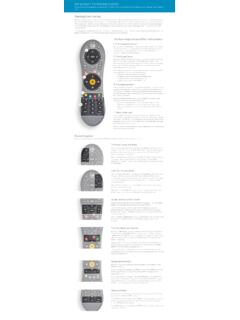
Using Your TiVo Remote Control
www.tivo.comremote to control the power, mute, and volume of your TV, you can use TV POWER to turn your TV on and off. Below TV POWER is the INPUT button. Press INPUT to select the input that your TV displays. Inputs can include a DVR, a DVD player, or a game system.
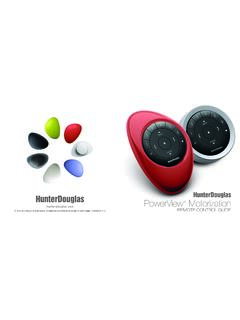
PowerView Remote Control Guide - Hunter Douglas
cdn.hunterdouglas.comFirst, activate the remote by pulling both plastic tabs from the back battery compartment. Inserting the remote module into the PowerView Pebble™ (hand-held): 1. 3Center the Hunter Douglas logo on the remote module above the indentation on the bottom rim of the Pebble. 2. Align the ribs on the remote module with the grooves on the Pebble. 3.
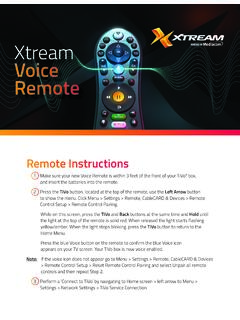
Xtream Voice Remote
mediacomcc.custhelp.com2 Go to Menu > Settings > Remote, CableCARD & Devices > Remote Control Setup. 3 Select ‘Set TV Power, Volume and Mute,’ ‘Set TV Input’ or ‘Set A/V Volume and Mute’ and follow the instructions. Note: Programming codes will start with a ‘1’. If your device lists codes that begin
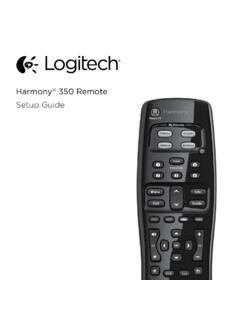
Setup Guide - Logitech
www.logitech.comHow the remote works Harmony 350 is an infrared (IR) remote that controls other IR devices such as TVs, audio/video receivers, and cable/satellite receivers. Visit setup.myharmony.com to create an account and set up your new Harmony remote. Watch TV button Set up a Watch TV Activity to automatically power on/off devices
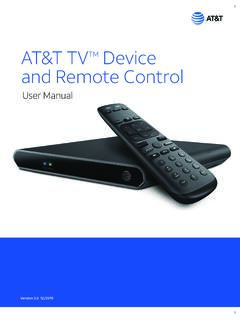
AT&T TVTM Device and Remote Control
www.att.com2. Power Supply The AT&T TV (C71KW) uses the DIRECTV® EPS10 power supply. 3. Remote Control The AT&T TV (C71KW) works with the RC82V Remote Control. (The box and remote control are not compatible with any older DIRECTV or AT&T U-verse® equipment.) Like other AT&T remote controls, the RC82V can be programmed to operate some features

PowerView Remote Control Guide - Hunter Douglas
cdn2.hunterdouglas.comInserting the remote module into the PowerView ® Pebble (hand-held): 1. Center the Hunter Douglas logo on the remote module above the indentation on the bottom rim of the Pebble. 2. Align the ribs on the remote module with the grooves on the Pebble. 3. Gently push the remote module into the Pebble until it is snug. Ribs on remote to be aligned ...
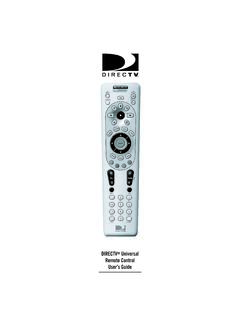
DIRECTV Universal Remote Control User’s Guide
www.att.com6. Aim the remote at your component and press the power key once. The component should turn off. If it does not turn off, repeat steps 3 and 4 trying each code for your brand until you find the correct code. 7. Repeat steps 1 through 6 to program a new component under AV2 (or AV1). 8. For future reference write down the working code for