LabelManager User Guide - DYMO
Reorient or relocate the receiving antenna. Increase the separation between the equipment and receiver. Connect the equipment into an outlet on a circuit different from that to which the receiver is connected. Consult the dealer or an experienced radio/TV technician for help.
Download LabelManager User Guide - DYMO

Information
Domain:
Source:
Link to this page:
Documents from same domain
User Guide - DYMO
download.dymo.comAbout the LabelWriter Printer 2 Top cover Label spool Label release Label feed path and tear bar Label roll Label guide Reverse label button Form-feed button
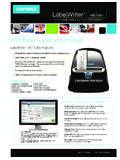
LabelWriter 450 Turbo
download.dymo.comLabelWriter ® 450 Turbo High-Speed Label and Postage Printer For PC and MAC® LabelWriter ® 450 Turbo Features: Print faster – and print postage 1 2 3 4 5 Eliminate the hassle of printing sheet labels through a desktop printer

LabelWriter 450 TwinTurbo - DYMO
download.dymo.comLabelWriter ® 450 TwinTurbo Dual Roll Label and Postage Printer For PC and MAC® LabelWriter ® 450 Twin Turbo Features: Double your label capacity and mailing efficiency 1 2 3 4 5

LabelWriter 450 Series Printers Technical …
download.dymo.comLabelWriter®. 450 Series Printers. Technical Reference Manual . Includes LabelWriter 450, LabelWriter 450 Turbo, LabelWriter 450 …

DYMO Label v.8.5
download.dymo.comDYMO Label v.8.5.4 . Read Me — 30 September 2016 . This document contains important information that is not included in any other DYMO Label documentation.

DYMO Label v.8.6
download.dymo.comDYMO Label v.8.6.1 . Read Me — 9 February 2017 . This document contains important information that is not included in any other DYMO Label documentation.
Quick Start Guide - DYMO
download.dymo.com5 4. Loading Labels To load a label roll 1 Press the form-feed button o ject lab ls at protected the printer during shipment. 2 Op en th op cover andremov ny packing ...
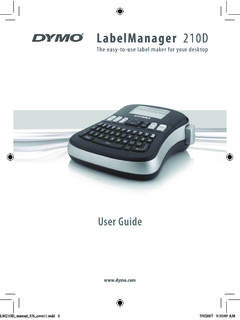
LM210D manual US cover1 - DYMO
download.dymo.com7 Using the Label Maker for the First Time The first time you turn on the power, you are asked to select the language. This selection will remain set until you change it, …

User Guide - DYMO
download.dymo.com4 Figure 1 RHINO 5200 Label Printer SHIFT SHIFT BKSP Feed Print/# of copies Escape Backspace Shift Size/CAPS Backlight Serialization Label exit …

LabelWriter 4XL Quick Start Guide - DYMO
download.dymo.com1 For complete information about your label printer, you can view the LabelWriter Printer User Guide from the DYMO Label v.8 Help menu or from the DYMO Web site at www.dymo…
Related documents
NETGEAR Router Setup Manual
www.downloads.netgear.com• Reorient or relocate the receiving antenna. • Increase the separation between the equipment and receiver. • Connect the equipment into an outlet on a circuit different from that to which the receiver is connected. • Consult the dealer or an experienced radio/TV technician for help. EN 55 022 Declaration of Conformance
V4K PRO Ultra HD USB Document Camera with AI-Enhanced …
s3.us-west-1.amazonaws.com- Reorient or relocate the receiving antenna. - Increase the separation between the equipment and receiver. - Connect the equipment into an outlet on a circuit different from that to which the receiver is connected. - Consult the dealer or an experienced radio/TV technician for help.
Digital Life User Guide - AT&T
my-digitallife.att.comJan 30, 2015 · Reorient or relocate the receiving antenna. Increase the separation between the equipment and receiver. Connect the equipment into an outlet on a circuit different from that to which the receiver is connected. Consult the dealer …
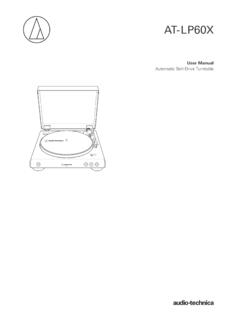
AT-LP60X User Manual - Audio-Technica
www.audio-technica.com– Reorient or relocate the receiving antenna. – Increase the separation between the equipment and receiver. – Connect the equipment into an outlet on a circuit different from that to which the receiver is connected. – Consult the dealer or an experienced radio/TV technician for help. Safety precautions For customers in Canada IC statement:
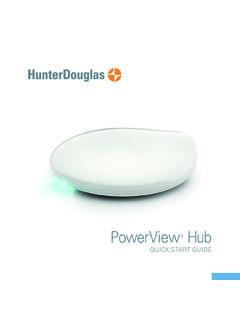
PowerView Hub - Hunter Douglas
cdn2.hunterdouglas.com• Reorient or relocate the receiving antenna. • Increase the separation between the equipment and receiver. • Connect the equipment into an outlet on a circuit different from that to which the receiver is connected. • Consult the dealer or an experienced radio/TV technician for help.
The Bose Wave Radio/CD
assets.bose.com• Reorient or relocate the receiving antenna. • Increase the separation between the equipment and receiver. • Connect the equipment to an outlet on a different circuit than the one to which the receiver is connected. • Consult the dealer or an experienced radio/TV techni-cian for help. Note: Unauthorized modification of the receiver or ...
The Bose Acoustimass 3 Series IV Speaker System
assets.bose.com• Reorient or relocate the receiving antenna. • Increase the separation between the equipment and receiver. • Connect the equipment to an outlet on a different circuit than the one to which the receiver is connected. • Consult the dealer or an experienced radio/TV techni-cian for help. Note: Unauthorized modification of the receiver or ...
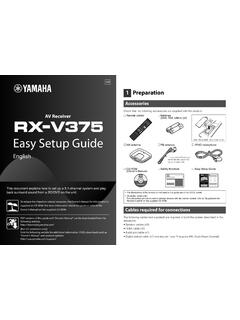
Easy Setup Guide - Yamaha Corporation
usa.yamaha.com*The supplied FM antenna varies depending on the region of purchase. Easy Setup Guide English AV Receiver UAB This document explains how to set up a 5.1-channel system and play back surround sound from a BD/DVD on the unit. To reduce the impact on natural resources, the Owner’s Manual for this product is supplied on CD-ROM.
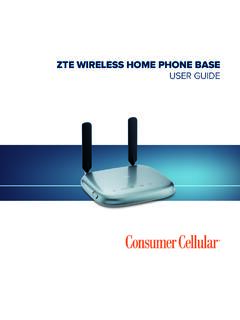
ZTE WIRELESS HOME PHONE BASE USER GUIDE
consumercellular.com• Slide the Power Switch to the On position to turn on your device. • To power off, slide the Power Switch to the Off position. CONNECTING TO A PHONE 1. Unplug your phone from the home phone wall jack. 2. Plug your phone into the PHONE 1 port on the device through a phone cable. NOTE: The PHONE 2 port can be used to connect an additional phone,