Transcription of DK Clamshell Linkage Maintenance - heat press
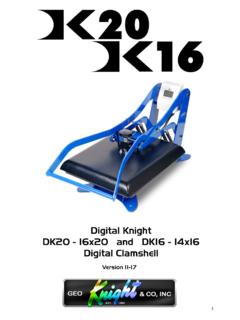
1 Digital Knight DK16 & DK20 Clamshell Linkage Maintenance The Digital Knight Clamshell presses are designed for easy Maintenance and parts replacement. If the frame loosens or wears over time, it is NOT necessary to dispose of the machine as with other limited life-span machines on the market. A little care & Maintenance as described in this document will insure that the press can be kept in like new operation indefinitely. Step 1: WHEN TO DO Maintenance A key indicator that Maintenance needs to be done on the press is if the heat platen is disconnecting and dropping from the frame. The pressure knob runs out of threads because the operator must turn the knob more and more to get the pressure they need. Another indicator of Maintenance is if the auto-release hover bracket disconnects from the upper blue handle. This also means the frame is overly loose. Step 2: INSPECT HOLES There are 8 black Allen-head shoulder bearing bolts that hold all the blue pieces together.
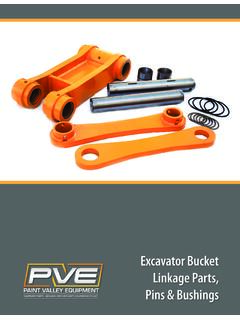
2 The blue handle, blue side links, and blue arm are all held together by these 8 Allen shoulder bolts. Remove one bolt at a time from the 4 front bolts, and inspect the holes in the handle arm. These holes Must Be Circular. If the bronze bushings in the holes are worn or broken, a new hardware kit is needed (RPK-CLAMHDW). We recommend replacing the pressure knob & bolt (DK20-PAS) also. If the holes are ovaled out, elongated and no longer circular, a new handle/arm/ Linkage kit is needed (RPK-DK16 LINK or RPK-DK20 LINK) Purchase these from the parts list at Step 3: TIGHTEN Linkage If the pivot points & holes that the bolts connect through are in good condition, tighten all 8 allen bolts very tight, and then back them off -turn loose. This will insure that the Linkage can pivot and move freely. IT IS IMPORTANT TO NOTE that the nuts should be removed one at a time, and Red Loctite Threadlocker (available at any hardware store) should be applied to the nuts.
3 Then tighten the nuts back onto the allen bolts. This will keep the hardware from loosening up after only a short period of time. Step 4: MOVE PRESSURE KNOB DOWN (Optional) More pressure knob threads can be moved down to the bottom to give more adjustability and more threads into the heat platen for heavier pressure. Under the black pressure adjustment knob, there are two locknuts around a black square block. Raise the top lock nut as far as needed, and then raise the bottom locknut back up against the black square block. TO REPLACE the knob if stripped, order DK20-PAS from the parts list at
