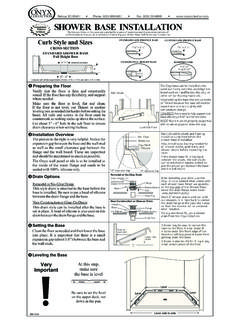
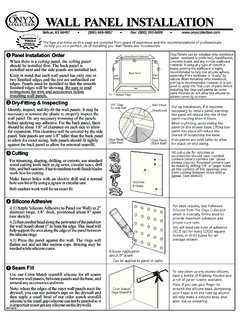
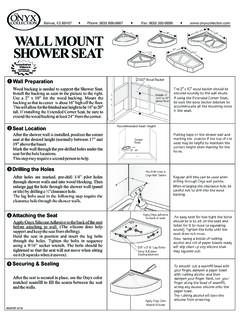
Transcription of Shower Drain Installation - Onyx Collection
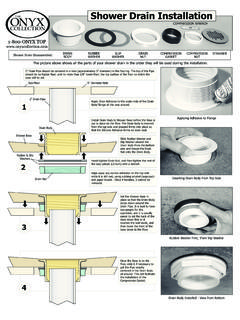
1 3412 Shower Drain InstallationThe picture above shows all the parts of your Shower Drain in the order they will be used during the WRENCH2" Drain PipeSub-Floor5" Diameter HoleDrain NutRubber & SlipWashersShower BaseDrain BodyShower Drain Disassembled:Applying Adhesive to FlangeInserting Drain Body from Top SideDrain Body Installed - View from Bottom Rubber Washer First, Then Slip WasherApply Onyx Adhesive to the under-side of the Drain Body flange all the way Drain Body in Shower Base before the Base is put in place on the floor. The Drain body is inserted from the top side and pressed firmly into place so that the Silicone Adhesive forms an even " Drain Pipe should be centered in a hole (approximately 5" diameter) in the flooring. The top of the Pipe should be no higher than, and no more than 1/8" lower than, the top surface of the floor on which the base will be Drain Nut, and then tighten the rest of the way (about 1/2 turn) with a Rubber Washer and Slip Washer around the Drain Body from the bottom side and thread the Drain Nut onto the Drain Body.
2 Set the Shower Base in place so that the Drain Body drops down around the Drain Pipe. It is best to have two people for this operation, and it is usually easier to set the back of the Base down first so it touches the wall studs, and then lower the front of the base down to the the Base is on the floor, slide it if necessary to get the Pipe exactly centered in the Drain Body all around. This will facilitate the Installation of the Compression away any excess Adhesive on the top side while it is still wet, using rubbing alcohol (isopropyl) and paper towels . Once it hardens, it cannot be Drain Installation - Part 2 Slide the Compression Gasket around the Pipe, and push it all the way down until it seats against the shelf at the bottom of the Drain Body. The top of the Gasket should line up with the top of the Pipe, or be slightly lower. If the Gasket seems to be sticking and it won't go into place, try wetting it with alcohol, and then slide it on quickly before the alcohol the Compression GasketPositioning the Compression NutTightening the Compression NutCutaway View of Installed DrainDrop Compression Nut into Drain Body and use the Compression Wrench included with the Drain to screw it in till it touches the rubber Gasket.
3 Make sure the Compression Nut stays level so it does not become a screwdriver into the slot in the Wrench and continue tightening to compress the Gasket and form a tight seal. CompressionGasketCompressionNutStrainerP ress the metal Strainer down into the Drain Body and make sure the top surface is lower than the Shower floor around it. To get the Strainer to seat flat against the top of the Drain Body, it may be necessary to make the four ears that stick down from the Strainer line up with the four slots along the top edge of the compression nut. Here is how everything should look on a properly installed Shower you experience any difficulties or have questions or comments about our products or your Shower Installation , feel free to call The Onyx Collection at 1-800-669-9867 during regular business hours, Central Time.