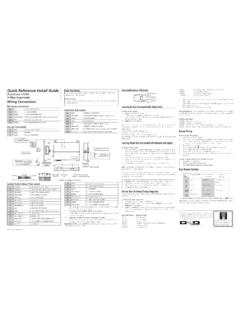
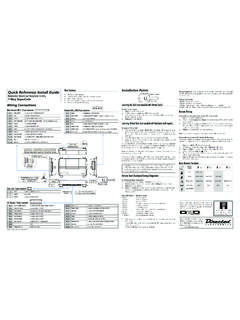
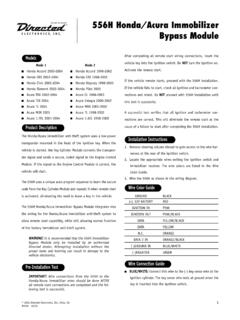
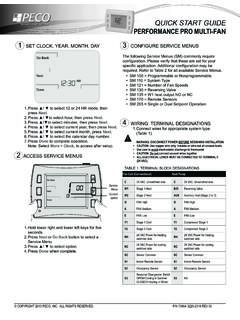
Transcription of Remote Start Keyless Entry Remote Start Keyless Entry ...
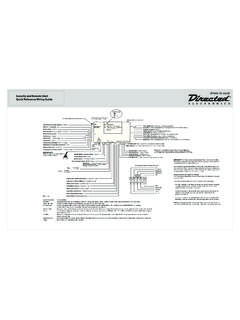
1 Remote Start Keyless Entry Remote Start Keyless Entry quick Reference Wiring guide quick Reference Wiring guide D2D jumpers: must be horizontal for use with external module. For connecting to external modules Red/White aux trunk release (-) 200mA. Red 12v (+) constant input D2D Pink ignition 1 output (also ignition sense input). Access Door Red/white 12V (+) fused 30a input (contact 87 of RS Flex Relay). Brown horn (-) output Data-to-data Light Flash Fuse Jumper connector Orange accessory output White/Brown Flex parking light relay 87A under door.
2 Use needlenose Violet starter output (car side of starter wire). pliers to change fuse Black chassis ground position. H3 Red 12V(+) constant fused 30a input (for Ignition1 relay). Violet door (+) input - Optional Pink/ White Flex Relay output (default is ignition 2). Remote Start output Pink/black Flex Relay contact 87a (default is ignition 2). Blue (-) factory horn input H1. Red/black 12V (+) fused 30a input ( for accessory and starter relays). Green door (-) input - Optional Blue RS status (-) 200mA output Relay out r Pink RS ignition1 (-) 200mA output Black/white domelight 200mA (-) output Tach Threshold Violet RS starter (-) 200mA output White/Blue Remote Start activation(-) input Jumper Door Orange RS accessory (-) 200mA output Hi Lo Lock/unlock Pink/ White flex (-) 200mA output (default setting is ignition 2).
3 White parking light output 30 RS in H2. Bitwriter Status LED Output (use White two-pin from antenna cable) Note: Wires 1 - 4 on the auxiliary outputs are wired to the (-) triggers for Orange ground-when-armed (-) 500mA output the onboard Remote Start relays and are not diode isolated. If wiring directly ESP Valet Program switch input (use Blue two-pin from antenna cable) to the vehicle place a 1-amp diode in line to prevent feedback from the vehicle. Neutral Safety Antenna four-pin connector Switch IMPORTANT! Neutral safety must be plugged in Black/White neutral safety (-) input and in the On position.
4 Violet/White tach input ON Brown brake shut down (+) input Engine Checking Type (Feature Menu 3-2) Virtual Tach is the default setting. The Gray hood pin switch NO/NC (-) input engine check monitors the battery voltage during the crank output to determine Blue/White when the starter output will release and then monitor the battery voltage (same 2nd Remote Start status (-) 200mA output as voltage mode) to make sure the engine is running. Defogger (programmable). (-) Unlock Heavy gauge (H3) 8-pin connection rear view Blue Note: Tachometer is required for manual transmission (+) Lock Green (-) Lock RED/BLACK.
5 (+) Unlock Using Virtual Tach for engine monitoring: PINK/BLACK. The correct starter release time is automatically learned the first time the Remote PINK/WHITE Start is activated. RED. Light Green/ Black OEM disarm (-) 200mA output Follow the procedures below to use Virtual Tach to monitor the engine: Light Green/ White OEM arm (-) 200mA output 8 7 6 5 1. Activate the Remote starter feature using the transmitter and allow it to White/ Violet AUX 1 (-) 200mA output complete the Remote Start cycle (up to 3 crank outputs) , and then wait at least 4 3 2 1.
6 20 seconds. Violet/Black AUX 2 (-) 200mA output PINK. White/ Black AUX 3(-) 200mA output 2. The lights turn on and remain on while the engine is running to indicate the RED/WHITE. voltage is correct and the Start was successful. The engine runs for the Light Blue 2nd Unlock (-) 200mA output ORANGE programmed runtime. Gray/ Black wait-to- Start (-) input VIOLET. 3. Shutdown the Remote Start using the transmitter. This puts the learned value into memory and recall it the next time Remote Start is activated. XWhat's New Note: You can reset Virtual tach if the learned value is not correct.
7 Use the same LED and Valet switch now on the receiver menu that is used for learning the transmitter to the main unit to reset Virtua Tach. Auto relock Automatically relocks after each unlock from the Remote . If the door , trunk , hood, or ignition is turned on the relock is defeated until the next unlock input. Relocks passively after unlock input, and the vehicle is not entered. Hood Trigger Type For vehicles that have N/C hood triggers. ( See Feature Menu#1 on the reverse side). One-time Bypass User can bypass passive locking, comfort Closure, and channel linking for locking cycle.
8 Turn the ignition on for more than 1 second, and then off in less than 3 seconds, the horn honks one-time. Features that would normally auto-activate are bypassed. (See Menu #2). Aux 3 Smart Key Changes the Remote Start Aux 3 output to a control for use with newer vehicles with Smart Key technology. Provides a pulsed output to turn the engine off, Remote Start shutdown, Control and to use the door trigger input to shutdown Remote Start if the door goes active during Remote Start . When this option is On, the RF control of the Aux 3 output is defeted.
9 One-time bypass does not defeat this output Flex Relay Vehicles with varied engine control systems require flexibility in Remote Start systems. The 2nd ignition relay is now configured as Flex Relay programmable to activate as a 2nd ignition , starter or accessory output. Tach Mode Starter When using the Tachometer input for engine monitoring, this feature allows you to increase or decrease the crank output release point during Remote Start to compensate for vehicles with Release short crank or over crank problems during installation.
10 Responder LE Remote Start Keyless Entry quick Reference Note: The default settings are indicated in bold type. Transmitter Programming Feature menu 1: Keyless Entry features Feature menu 3: Remote Start features Consult the Remote Control Learn Routine section of the installation guide and enter the Remote setup Menu Feature Opt. 1 Opt. 2 Opt. 3 Opt. 5+. procedure specific to your Remote , then proceed to the transmitter/receiver learning procedure. Item Menu Feature Opt. 1 Opt. 2 Opt. 3 Opt. 5+. Item 1 System locking Active Passive Auto reloc- locking locking kimg 1 Transmission Mode Manual Automatic Transmitter/Receiver Learning and Reset procedures 2 Panic Mode On Ign Off only Off 2 Engine Checking Virtual Tach Voltage Off Tachometer Use the following steps to access the TX/Receiver learning and reset menu: Mode 3 Horn function Confirma- Confirmation Confirmation Confirmation Confirmation a.