Transcription of The Workers’ Compensation Board Web Upload Procedure
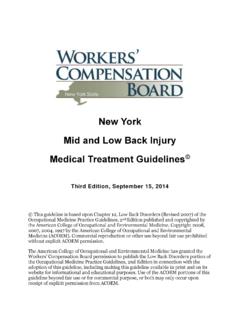
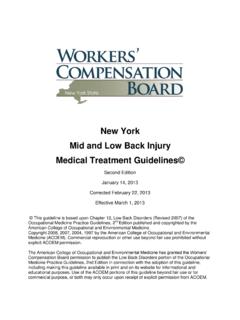
1 Web Upload Page | 1 The Workers Compensation Board Web Upload Procedure Log into Account Creation: If you have an existing account that you used for the previous site, you may set up your user account here with the same user name and password if you so choose. The first time you access the site, you must create a user name and password . Agree to the Terms and Conditions after reading them and click on Sign Up. If you have already created an account, click on Login. Fill out the required fields and click on Submit. Upon a valid submission, the registration is completed and a password will be sent to the email address you specified. This button will allow you to check if the user name you choose is already in the system, although, you will also be notified when clicking Submit if you do not utilize the Check button. Web Upload Page | 2 After clicking where directed, you will be brought to the Home page. Click on My Account and Choose the My Profile tab.
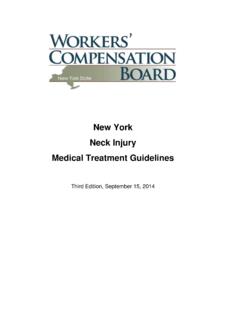
2 Web Upload Page | 3 Fill out all required fields. Change your default password to a secure password you created. Tip! For each section that you fill out, you must first click on the Edit Info button and then click on Update to complete that section: Once completed, you will receive an email alerting you that your account information has been created, updated, or changed. Uploading a File: Click on Submission and choose the Multi File Upload tab. Web Upload Page | 4 On the right side of the screen there are Help tips listed that will tell you the file extensions that are allowed, the maximum file size, etc. On the left side of the screen is a box that will display the files as you Upload them. Click on Browse and choose the file you wish to Upload from your computer. Click on Add to Upload the next file if uploading multiple files. Web Upload Page | 5 If you try to Upload a file that is not supported, you will get a notification alerting you: You have the option to delete a single file uploaded or delete (clear) all files uploaded if a file was uploaded in error or you wish to abort the entire list.
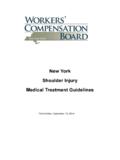
3 Web Upload Page | 6 After adding all files you choose to Upload (maximum files allowed to be uploaded at once is 10), click on Upload . When this process is complete, the files you uploaded will be displayed under the browse/add box where it says Upload Status. If any files have an error during Upload , a notification will pop up alerting you of an unsuccessful Upload and the file would need to be uploaded again. Please log out when you are finished. NOTE: Users who have Internet Explorer 9 and below may have to make Internet Explorer settings changes. - Users may need to add the site as a trusted site to the IE browser. Instructions on how to do so are listed below: Adding a trusted site to Internet Explorer: Follow these steps: a. Open Internet Explorer by clicking the Start button . In the search box, type Internet Explorer, and then, in the list of results, click Internet Explorer. b. Click the Tools button, and then click Internet options.
4 C. Click the Security tab. d. Now click on Trusted sites and then click on the sites button. e. Enter the Website URL and click on Add. f. When you are finished, click on Close. - In addition, users may need to adjust their ActiveX settings. Instructions on how to do so are listed below: ActiveX Setting Adjustments for IE9 users: 1. Go to Tools > Internet options > Security > Custom Level 2. Under the ActiveX controls and plug-ins, select Enable for Initializing and Script ActiveX controls not marked as safe