Installation Guide - Windows -- 400 Series - Complementary …
• Drill/Driver • #2 Phillips Bit • Caulk Gun • / 16" Drill Bit • Staple Gun Parts Included ... • Size of rough opening should allow minimum ¼" clearance around entire unit, between unit frame and rough opening. Width of rough opening ... using a #10 x 1 ½" screw. For rectangular and
Download Installation Guide - Windows -- 400 Series - Complementary …

Information
Domain:
Source:
Link to this page:
Documents from same domain

Hinged Insect Screen Guide - Andersen Windows
www.andersenwindows.comHinged Insect Screen Guide for Andersen ... Instructions are for typical, ... skip to Step 13 for latch set installation.
iQ Basic Training - 16.1 for web - Andersen Windows
www.andersenwindows.comiQ Training (iQ Quote & Order Tool) 2 of 17 Version 16.1 September 13, 2016 Andersen Corporation iQ Training - Basic d. Setting up Sales Reps.

Andersen Intelligent Quote (iQ) Software Update
www.andersenwindows.com1 Version 15.2 Andersen ® Intelligent Quote (iQ) Software Update October 26, 2015 RELEASE: Version 15.2 SUBJECT: Andersen ® Intelligent Quote (iQ) Software Update

Lock Mechanism Replacement - Andersen Windows
www.andersenwindows.comThis instruction guide includes instructions for replacing either the Active Panel Lock Mechanism or the Passive Panel Lock Mechanisms. For Passive Panel Lock Mechanism Replacement proceed below.
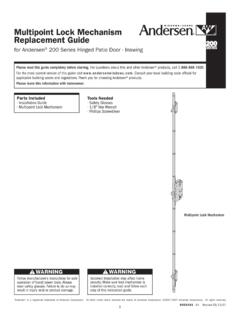
Multipoint Lock Mechanism Replacement Guide
www.andersenwindows.com1 Interior 2 Interior 3 Interior 4 Interior 5 Interior 0005485 Loosen set screw on underside of exterior handle and remove handles. Keep all hardware and fasteners for reinstallation.
Installation Guide - Windows -- A-Series & 400 Series ...
www.andersenwindows.comInstallation Guide Every assembly and installation is different (windloads, structural support, etc.). Andersen strongly recommends consultation with an Andersen supplier or an experienced contractor, architect, or structural engineer prior to the
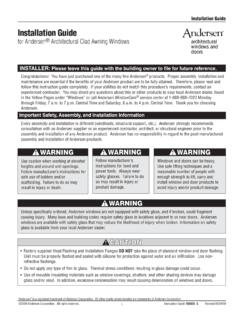
Installation Guide - Windows - Architectural Awning, Clad ...
www.andersenwindows.comInstallation Guide Every assembly and installation is different (windloads, structural support, etc.). Andersen strongly recommends consultation with an Andersen supplier or an experienced contractor, architect, or structural engineer prior to the

Bow Window Assembly and Installation Guide
www.andersenwindows.comBow Window Assembly and Installation Guide ... Section One - Bow Window Assembly Guide 2 Component Identification Optional Accessories Extension Jambs ... failure resulting in injury, property or product damage. Section One - Bow Window Assembly Guide 3 Head Stop (remove first)
Silver Line Bay Bow Window Installation Instructions ...
www.andersenwindows.com• Read guide before starting installation. Read all warnings and ... injury and/or product/property damage. Installation screws, nails, clips and/or ... Use pry bar to remove bay/bow frame from pallet and shipping blocks from bay/bow frame. Be careful not to damage bay/bow

Guide to Understanding Condensation - Andersen Windows
www.andersenwindows.com5 What is the relationship between humidity and comfort? Whether or not you feel comfortable in a room is dependent on many factors, including the temperature of the air, the relative humidity…
Related documents
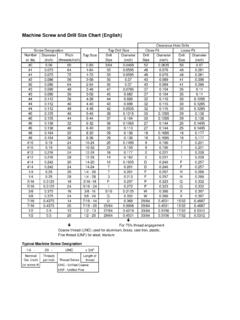
Machine Screw and Drill Size Chart (English)
eberhardt.bzClearance Hole Drills Screw Designation Tap Drill Size Close Fit Loose Fit Number Diameter Pitch Tap Size Drill Diameter Drill Diameter Drill Diameter or dia. (inch) (threads/inch) Size (inch) Size (inch) Size (inch) #0 0.06 80 0-80 3/64 0.0469 52 0.0635 50 0.07 #1 0.073 64 1-64 53 0.0595 48 0.076 46 0.081 ...

65-0090 - 7800 SERIES S7800A Keyboard Display Module
customer.honeywell.comnections to allow for sufficient clearance. 3. Use the KDM or Data ControlBus ModuleŽ as a template (Fig. 19) and mark the two screw locations, interlocking ear locations and the two plug-in connector locations. 4. Drill the pilot holes for the mounting screws. 5. Cut holes in the door panel for the interlocking ears and the two plug-in ...

Installation Guide
images.thdstatic.comup with the bottom hole from the screw removed in step 3a. NOTE: The top of the hinge rail should extend approximately 3/16” beyond the top of the door frame. 2. Pre-drill 1” deep pilot holes in door frame at each hinge and fasten using 1” unpainted screws from the pink bag in the installation kit. 1. Sweep H only: Slide the sweep ˜n (I ...
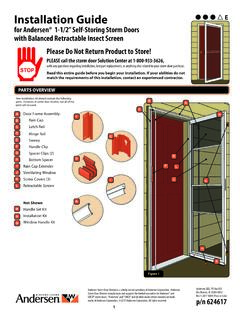
PLEASE call the storm door Solution Center at 1-800-933-3626,
images.thdstatic.comTIP: Use a screw driver to loosen and tighten screws; a drill may strip the screw holes. If screws do strip, replace 3. Remove bottom spacer (H) by pressing down on raised lip. 4. Properly discard all orange clips. 1. Set bottom of door centered in opening. Make sure orange bottom spacer (H) is sitting on door sill. 2.
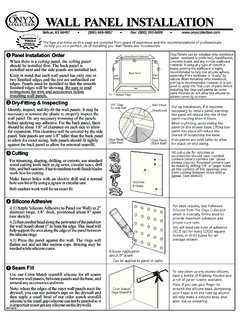
WALL PANEL INSTALLATION - Onyx Collection
www.onyxcollection.comfor exact on-size sizing. All panels should have about 1/8" ... drill bits, and belt sanders. Fine to medium tooth finish blades work best for cutting. Make faucet holes with an electric drill and a normal hole saw bit or by using a jigsaw or circular saw. ... clearance hole in the Onyx and never screw directly into the Onyx. Always secure ...