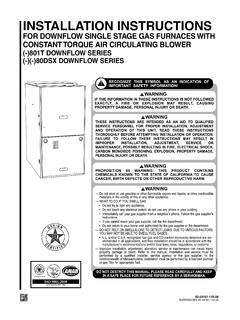
INSTALLATION INSTRUCTIONS - MyRheem.com
Installation Instructions remain with the furnace as a reference guide to the servicing contractor. We recommend that performance and installation data be recorded for future reference on this sheet to meet service and warranty obligations so that job site information is …
Download INSTALLATION INSTRUCTIONS - MyRheem.com

Information
Domain:
Source:
Link to this page:
Documents from same domain
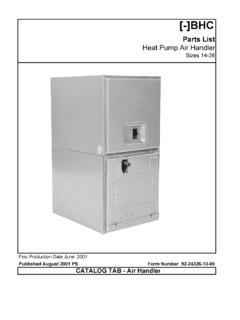
Parts List Heat Pump Air Handler - MyRheem.com
pts.myrheem.comPage 2 Page 3 - 4 Serial Number Explaination Page 3 - 4 Exploded View Page 5 - 6 Panels & Sheet Metal Parts Page 7 Blower Motor, Motor Bracket Kit, Capacitor Page 8
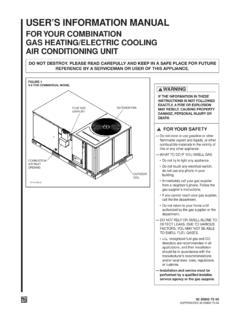
USER’S INFORMATION MANUAL - MyRheem.com
pts.myrheem.comuser’s information manual for your combination gas heating/electric cooling air conditioning unit do not destroy. please read carefully and keep in a safe place for future
USER’S INFORMATION MANUAL - MyRheem.com
pts.myrheem.comcarbon monoxide (co) is a colorless, odorless, poisonous gas that can cause severe personal in - jury or death. carbon monoxide can be produced by any fuel-burning device, including but not
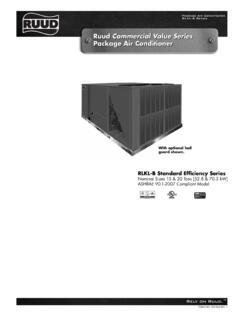
Ruud Commercial Value Series Package Air Conditioner
pts.myrheem.comThe electric furnace comes with fuses for the unit () and for the electric furnace , and is UL certified The electric heating elements are of a wound-wire con-
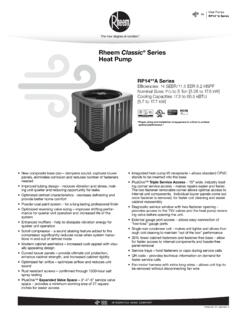
Rheem Classic Series Heat Pump
pts.myrheem.comTable of Contents RP14**A Series 2 TABLE OF CONTENTS ... Internal Pressure Relief Valve √ √ √ √ √ √ √ ... Louver removal for coil cleaning is accomplished by removing one screw and lifting the panel out of the composite base pan ().All RP14**A units utilize single
EcoNet and Flash Codes - MyRheem.com
pts.myrheem.comA101_C ECM Blower Motor Communication Failure 4 Flashes Control is unable to communicate with blower motor module RHMV Only Ensure contacts on harness pins/sockets are not, loose corroded or dirty, replace harness or clean pins/sockets Internal fault on motor module, Replace motor module. A105_A ECM Blower Fault - Incomplete
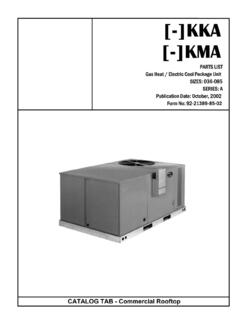
MODEL NUMBER EXPLANATION - MyRheem.com
pts.myrheem.comNot include Limit Baffle or Tube Support Angles. AS-59126-01 AS-59126-03 np LIMIT BAFFLE - Attached to Condenser Bulkhead See Page 13 See Page 13 np TUBE SUPPORT ANGLE - Attached to the Cond. Bulkhead AE-59139-01 AE-59139-01 8 BLOWER BULKHEAD - Does Not Include Tube Support Angle, Blower Extension or Insulation Retainer listed below AS-59130-01 ...
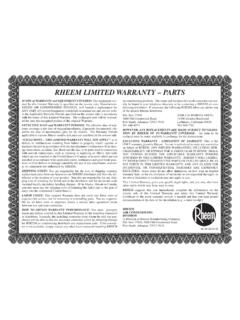
RHEEM LIMITED WARRANTY – PARTS - MyRheem.com
pts.myrheem.comty conditions are not or cease being met),or if the furnace is installed for non-residential use, RHEEM will warrant the primary heat exchanger and the secondary heat exchanger (condensing coil) for a period of Twenty (20) years after the effective date. INDUCED DRAFT MOTOR: 5 Years After the Effective Date - Only for Models:RGPH,RGLH,
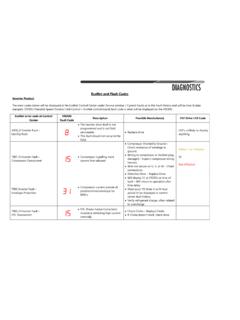
EcoNet and Flash Codes - MyRheem.com
pts.myrheem.comsuction lines, drier, strainers etc. T958_O High Refrigerant Pressure System High pressure switch has opened. Check Refrigerant Charge Check connection of HPS to Drive Yellow 20 Flashes A958_O High Refrigerant Pressure System High pressure switch has opened 3 times and is locked out for one hour

FAULT CODES Normal Operation Limit Control Faults
pts.myrheem.comd3 Airflow Mismatch 61 Blower Fault - Blower Not Running d4 Memor Card Invalid 66 Blower Overspeed Fault d5 Card-Hardware Conflict 68 No Communications with Blower Motor d6 Blower Horsepower Conflict d7 Blower Manufacturer Conflict Gas Valve Faults d8 Old Shared Data 77 No Communications with Gas Valve 78 Gas Valve Servo Fault Flame Sense Signal
Related documents
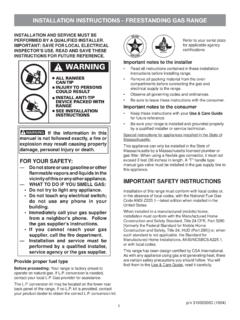
INSTALLATION INSTRUCTIONS - FREESTANDING GAS …
pdf.lowes.comthe gas supplier's instructions. • If you cannot reach your gas supplier, call the fire department. — Installation and service must be performed by a qualified installer, service agency or the gas supplier. Important notes to the installer • Read all instructions contained in these installation instructions before installing range.
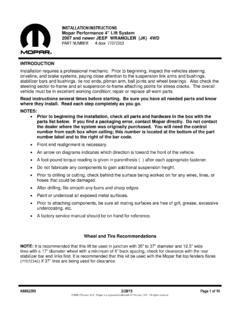
INSTALLATION INSTRUCTIONS Mopar Performance 4” Lift …
starparts.chrysler.comThe upper end of the axle vent hose is clamped to the driver side frame rail. Leave the hose attached to frame; simply pull down approximately 4” of hose. On Rubicon models, the wiring loom for the locking differential is attached to the axle-to-frame ... INSTALLATION INSTRUCTIONS Mopar Performance 4” Lift System 2007 and newer JEEP ...

INSTALLATION INSTRUCTIONS AND OWNERS MANUAL
newcontent.westmarine.comfill and vent system here seastar nylon tubing or 3⁄ 8" copper tubing port line (left) starboard line (right) if copper tube is used for general installation, use cylinder hose kit here. rod end ball joint tiller arm cylinder mounting foot additional steering station. compensating line this helm must be fitted with a non-vent plug. failing to ...

INSTALLATION INSTRUCTIONS
www.owenscorning.comdeck manufacturer’s instructions. 2. Prevent the wood deck from getting wet before, during and after installation. • Ventilation: Must comply with local building codes. • Handling: Use extra care in handling shingles when the temperature is below 40°F. • Storage: Store in a covered, ventilated area at a maximum temperature of 110°F.
INSTALLATION INSTRUCTIONS MECHANICAL GAUGES
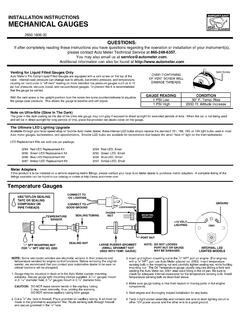
autometer.comINSTALLATION INSTRUCTIONS MECHANICAL GAUGES 2650-1606-00 OVER-TIGHTENING OF VENT SCREW WILL DAMAGE THREADS. GAUGE READING 1 PSI Low 1 PSI High CONDITION 30° F. Temp. Rise 2000 Ft. Altitude Increase NOTE: Some late model vehicles use electronic sensors in their pressure and temperature senders for engine control functions. …

Installation & Operating Manual
downloads.hearthnhome.com11 Vermont Castings • Radiance VF Installation ManualR14 • 06/18 3-90-30005056 D E S I G N C E RT IF D Radiance® Vent Free Gas Heater Models: 0003380, 0003381 INSTALLER: Leave this manual with the appliance. CONSUMER: Retain this manual for future reference. INSTALLER / CONSUMER SAFETY INFORMATION
B-Vent Installation Instructions - mtlfab.com
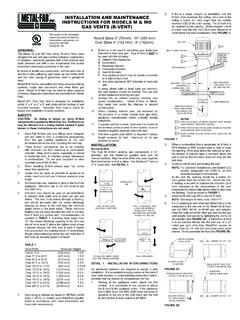
www.mtlfab.comd. Make remainder of vent installation per B-Vent installation instructions. Oval Vents The 4MO and 5MO oval vents are listed for use in either 2” x 4” or 2” x 6” stud walls, with firestop/spacer to maintain proper clearance to combustibles. The 6MO is listed for use in 2” x 6” stud wall. The firestop/spacer is to

MICROWAVE HOOD COMBINATION INSTALLATION …
www.whirlpool.comholes should align with mounting holes in the vent opening, as shown in inset. 4. Secure vent deflector with 2 mounting screws (1 on each end). 5. Replace vent screen. Wall Venting Installation Only To Remove Wall Damper Vent Cover: 1. Locate the wall damper vent cover on the back of the microwave oven. 2.

MICROWAVE HOOD COMBINATION INSTALLATION …
www.whirlpool.com1.Remove screws attaching vent cover B, C and D to top of microwave exterior. Slide out vent covers B, C and D. Keep the vent cover C for step 2 use. 2.Place the vent cover C (removed from step 1) to area A, and rotate 180 degrees. 3. Attach the vent covers located in the upper polyfoam (see item J in "Parts Supplied" section). 4.
INSTALLATION INSTRUCTIONS - Zoeller Pump Company
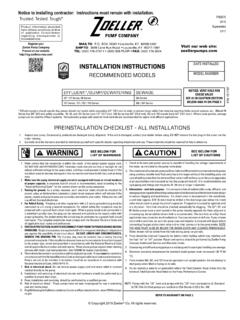
www.zoellerpumps.comto reduce clogging and seal failures. If a check valve is incorporated in the installation, a vent hole (approx. 3/16" [5 mm]) must be drilled in the discharge pipe below the check valve and pit cover to purge the unit of trapped air. Trapped air is caused by agitation and/ or a dry basin. Vent hole should be checked periodically for clogging.