Example: stock market
© COPYP - Metra Online
Unclip and remove the trim panel around the radio including the A/C vents. (Figure A) 2. Unclip and remove the trim panel at the bottom edge of the dash cavity. (Figure B) 3. Remove (4) 10mm bolts securing the radio. (Figure C) Continue to Kit Preparation (Figure C) (Figure B) (Figure A) Scion xB 2004-2006 1.
Tags:
Information
Domain:
Source:
Link to this page:
Documents from same domain
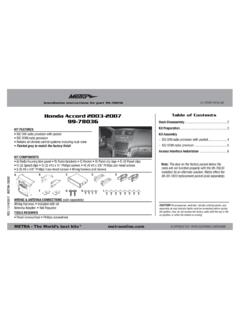
Honda Accord 2003-2007 Table of Contents 99 …
www.metraonline.comKit Preparation 3 Clip leg locations (Figure A) 1. Secure the (2) panel clip legs to the radio housing trim panel with the (4) #4 x 3/8” Phillips pan-head screws supplied, and then attach the panel clips. (Figure A)

www.metraonline.com
www.metraonline.com2 23˛˝˝3˙˙23˝ˆˇ˙˘˘˘ ˘˘˘ 3 DASH DISASSEMBLY 1. Unsnap and remove trim from around top center to passenger side dash. (Figure A) 2. Unsnap panel from outside edge of
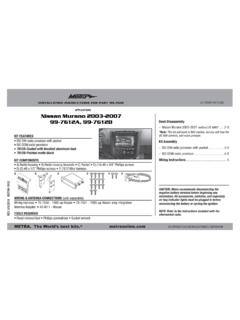
APPLICATIONS Nissan Murano 2003-2007 99 …
www.metraonline.com99-7612 ® 1. Desenganche y quite el panel de moldura que rodea la pantalla, incluyendo los controles del aire acondicionado. (Figura A) 2. Quite los (2) tornillos Phillips
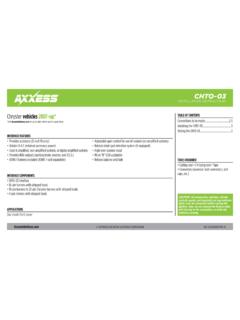
Cutin - Metra Online
www.metraonline.com23˛˝˙ˆˇˆ˘ˇ ˆ ˙ 3 From the 22-pin Chrysler harness • Connect the Yellow wire to the radio’s 12-volt battery or memory wire. • Connect the Black wire to the radio’s ground wire.
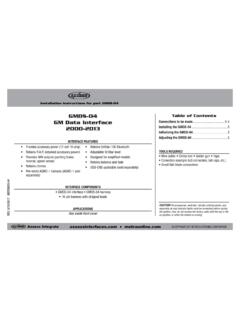
GMOS-04 Table of Contents GM Data Interface …
www.metraonline.comGMOS-04 2 Applications BUICK Century 2004-2005 LaCrosseSilverado 2005-2009 Rainier 2004-2007 Regal 2004 Rendezvous 2002-2007 Terraza 2005-2007 CADILLAC
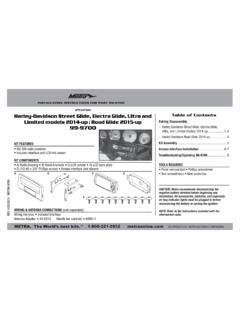
INSTALLATION INSTRUCTIONS FOR PART 99-9700 …
www.metraonline.com99-9700 4 Harley Road Glide 2015-up Disassembly 1. Remove the lower torx screws on either side holding the wind deflector wings (only the lower two
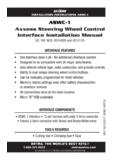
INSTALLATION INSTRUCTIONS ASWC-1 ASWC-1 …
www.metraonline.com6 ASWC-1 Installation Connections to be made Once you have collected or printed out the “ASWC-1 Vehicle Instructions” for your particular vehicle, from www.axxessinterfaces.com, you’re ready
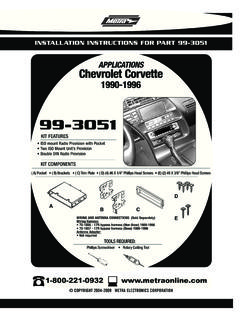
INST99-7315 - Metra Online
www.metraonline.com99-3051 1 Disconnect the negative battery terminal to prevent an accidental short circuit. 1 Remove (2) screws from center AC vent and remove vent. (Figure A)
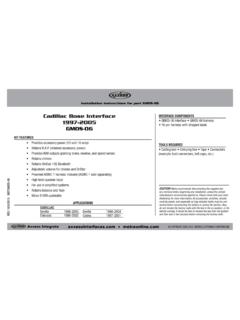
Cadillac Bose Interface INTERFACE COMPONENTS …
www.metraonline.comGMOS-06 3 • Connect the 16-pin harness with stripped leads into the interface. • Connect the GMOS-06 harness into the interface, and then into the vehicle.
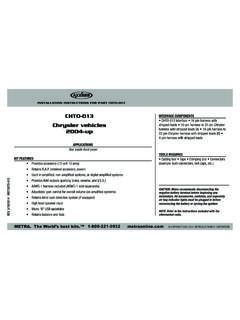
Chrysler vehicles 2004-up - Metra Online
www.metraonline.comCHTO-013 2 From the 16-pin harness • Connectthe (2) Red wires to the ignition/accessorywire ofCHRYSLER the aftermarketradio. • Connect the Orange/White wire to the illumination wire of the aftermarket
Related documents

R-Panel/PBR-Panel - Technical Sheet R-PANEL
www.bestbuymetals.comR-PANEL OPEN FRAMING OR SOLID SUBSTRATE ARCHITECTURAL COMMERCIAL INDUSTRIAL PANEL 36" COVERAGE ... Trim Fastener: 1/4"-14 x 7/8" XL Stitch Screw FASTENER INFORMATION 1. Theoretical section properties have been calculated per AISI 2012 'North American Specification for the Design of Cold-Formed Steel Structural Members'.

Engine and Accessory Wiring Color Code
www.omao.noaa.govDistribution panel to accessory switch Purple (Pu) Ignition Ignition switch to coil and electrical instruments Instrument feed Distribution panel to electric ... Green/stripe (G/x) Tilt down and/or trim in Tilt and/or trim circuits Except G/Y Blue/stripe (Bl/x) Tilt up and/or trim out Tilt and/or trim circuits . Author:
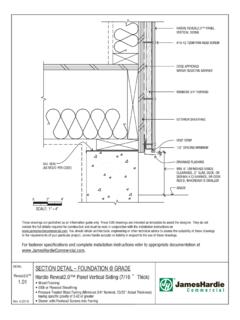
SECTION DETAIL – PANEL WITH HORIZONTAL TRIM
www.jameshardiepros.comSECTION DETAIL – PANEL WITH HORIZONTAL TRIM @ FLOOR BREAK DETAIL: Rev. 4 (2012) Reveal2.0™ 1.03 Hardie Reveal2.0™ Panel Vertical Siding • Wood Framing • OSB or Plywood Sheathing • Pressure-Treated Wood Furring (Minimum 3/4" Nominal, 23/32" Actual Thickness) having specific gravity of 0.42 or greater • Shown with Panhead Screws ...

Polymer & Vinyl Siding, Stone Veneer, Trim, Accessories ...
www.certainteed.comuCONSISTENT VARIEGATED COLOR THROUGHOUT THE PANEL Recommended trim: CertainTeed recommends the use of Restoration Millwork PVC trim for the most authentic look of genuine cedar. If you choose to use CertainTeed vinyl accessories, the following solid colors are the best comparable options: Natural Blend = Buckskin, Cedar Blend = Cedar Blend Solid,

FLIGHT MULTI PANEL - Logitech
www.logitech.comThe Multi Panel interacts with Microsoft Flight Simulator X to control a range of functions, including auto pilot settings, flaps and trim controls. SETTINGS ADJUSTMENT WHEEL AUTO THROTTLE ARM PITCH TRIM ROTARY CONTROL AUTOPILOT SETTINGS SELECTOR AUTOPILOT FUNCTIONS BUTTONS FLAPS RETRACT (UP) OR EXTEND (DOWN)

FLIGHT MULTI PANEL - Logitech
www.logitech.comThe Multi Panel interacts with Microsoft Flight Simulator X to control a range of functions, including auto pilot settings, flaps and trim controls. SETTINGS ADJUSTMENT WHEEL AUTO THROTTLE ARM PITCH TRIM ROTARY CONTROL AUTOPILOT SETTINGS SELECTOR AUTOPILOT FUNCTIONS BUTTONS FLAPS RETRACT (UP) OR EXTEND (DOWN)
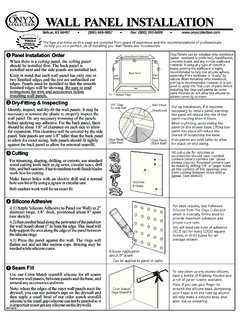
WALL PANEL INSTALLATION
www.onyxcollection.comWALL PANEL INSTALLATION Silicone Adhesive Panel Installation Order Cutting Seam Fill Dry-Fitting & Inspecting F F F F F NOTE: If using crown molding, see crown molding instructions before installing wall panels. When there is a ceiling panel, the ceiling panel should be installed first. The back panel is installed next and the side panels are ...